Made By...
In this hands-on class, we focus on the relation between materials and production techniques. We work as a self-producing designer, creating and producing a small series of our own design with its unique and personal appearance.
The challenge is to design a mould with a large-scale production and a wider audience in mind.
As this class was completely out of my comfort zone, the learning point of this class became more of a exploraiton on materials, learning from my peers' process and a reflection on my practice in design.
Mid-Terms Set Up Overview
Metal
In the beginning of the class, we were tasked to pick an object, reverse-engineer it and innovate a different production technique to create them.
My chosen object was a metal paper clip and I figured it was made with two components the clippers which were made from metal sheet and spring made by coiling metal wires.
So, I tried to making one at the school's metal workshop combining two components.
The result was a sloppy, semi-functioning metal clip and a whole lot of experience bending, coiling and trimming metal sheets.
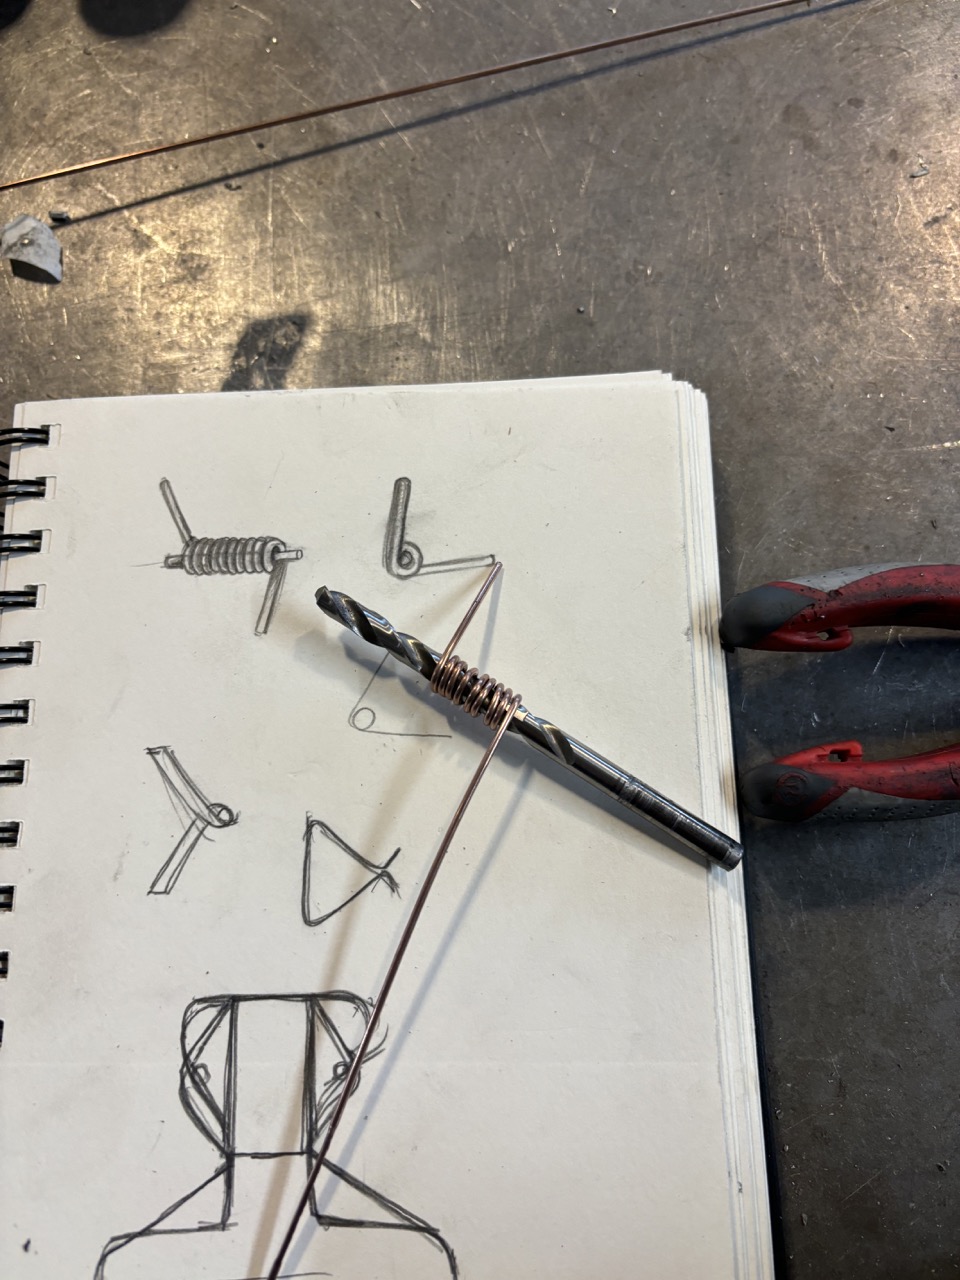
Coliing Metal Rod 
Trimmed Metal Sheet 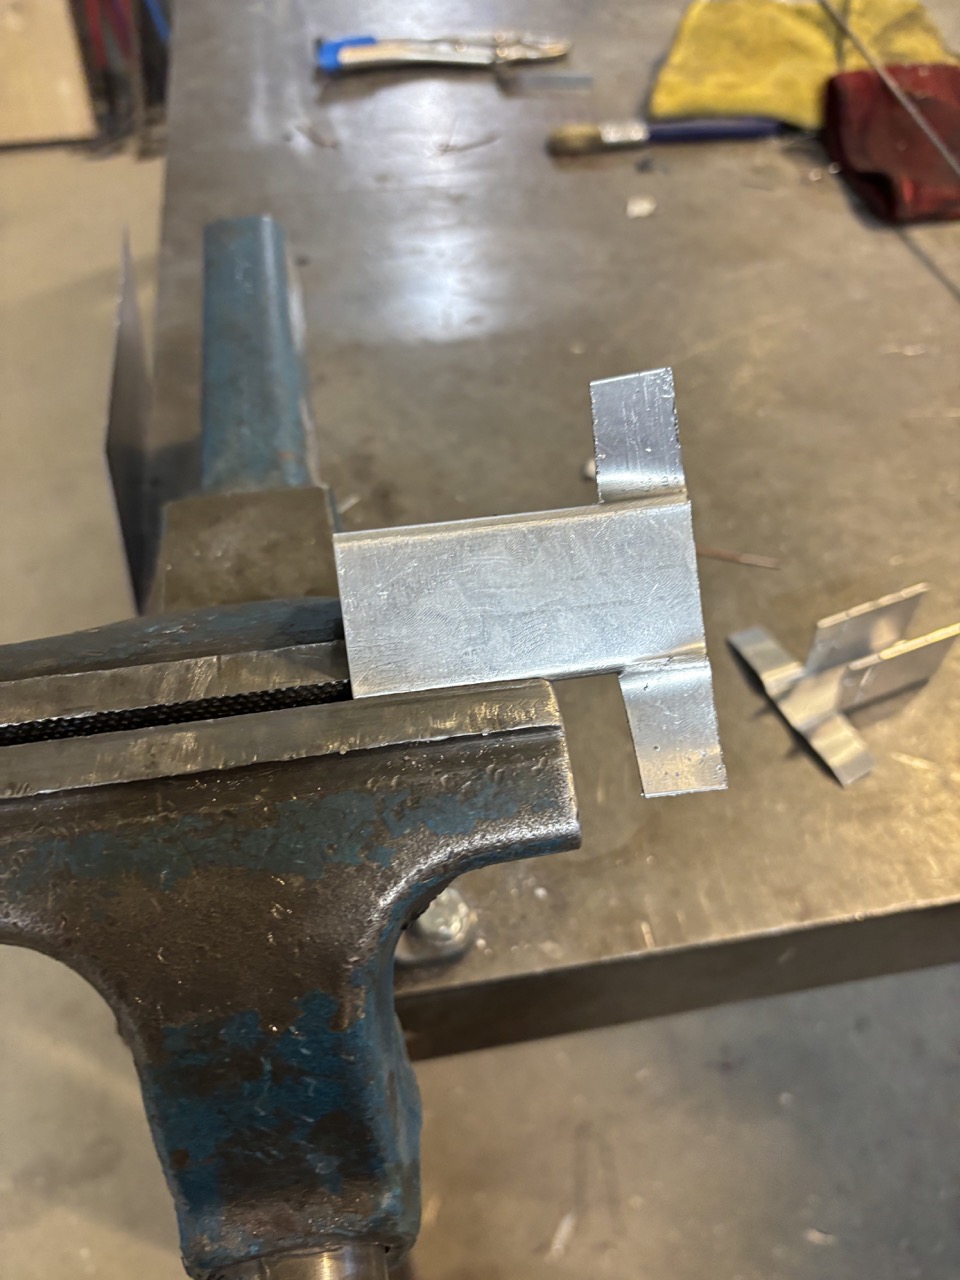
Bending Metal
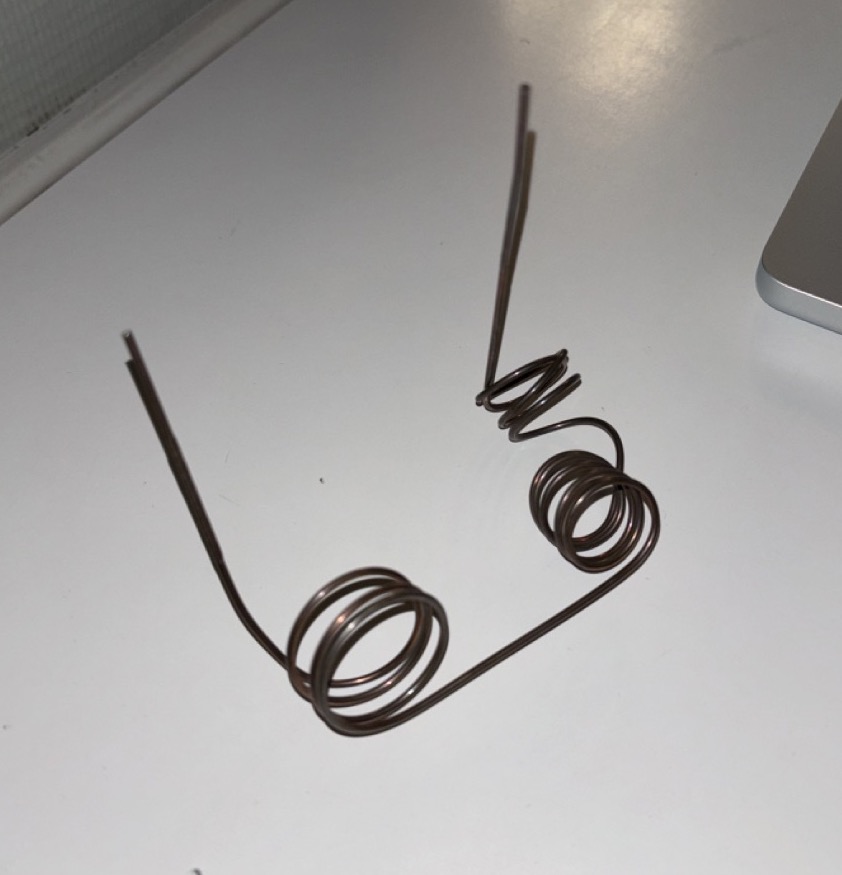
Coiling Test 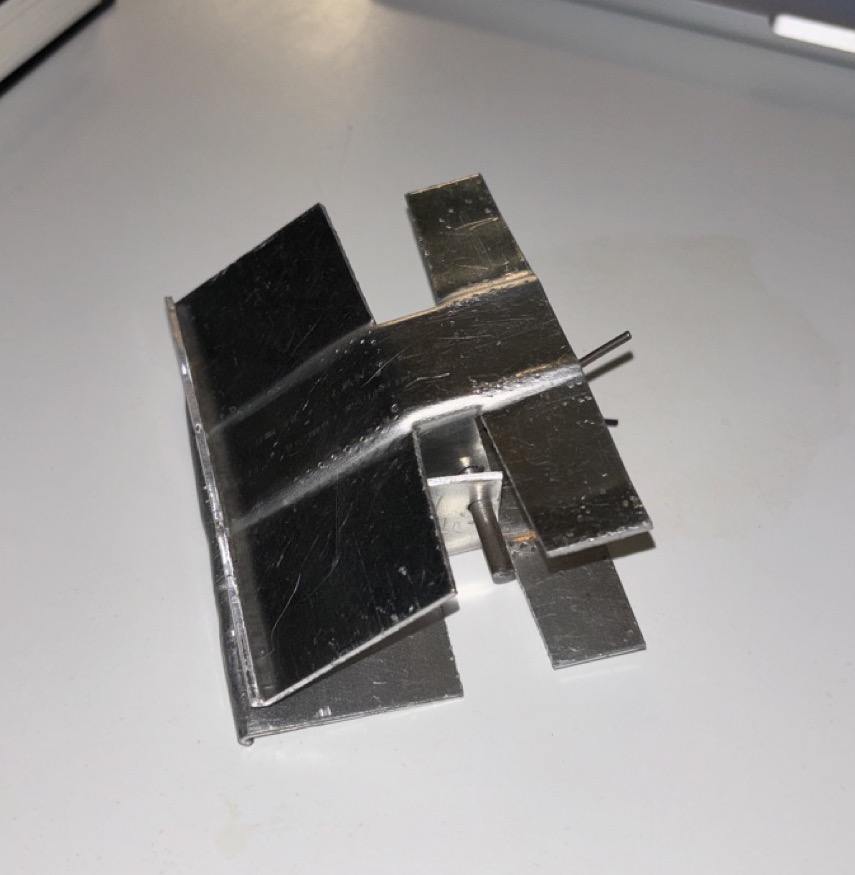
Final Paper Clip
Ceramics
Next, I decided to try a different material as using metal would just be re-making my chosen obejct.
So, I went to the ceramics workshop.
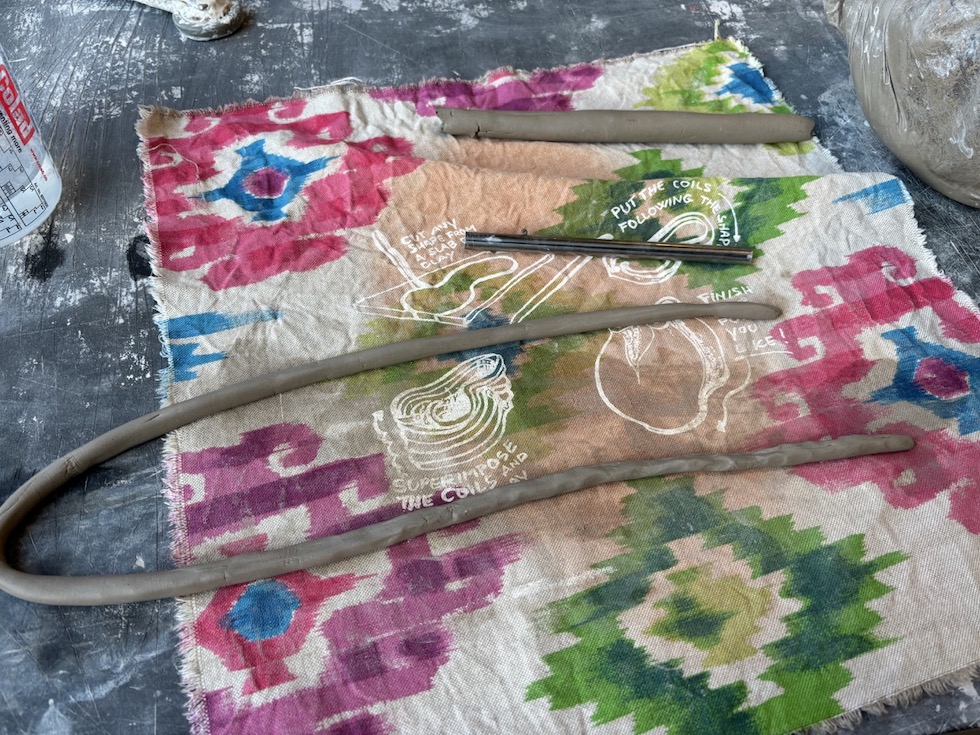
Having identified that I like the coiling technique, I decided to try coiling clay around a rod - similarly to the tecnique explored in the metal workshop.
What intrigues me the most from the experiment was the "airiness" quality to the prototype.
Trimming Clay 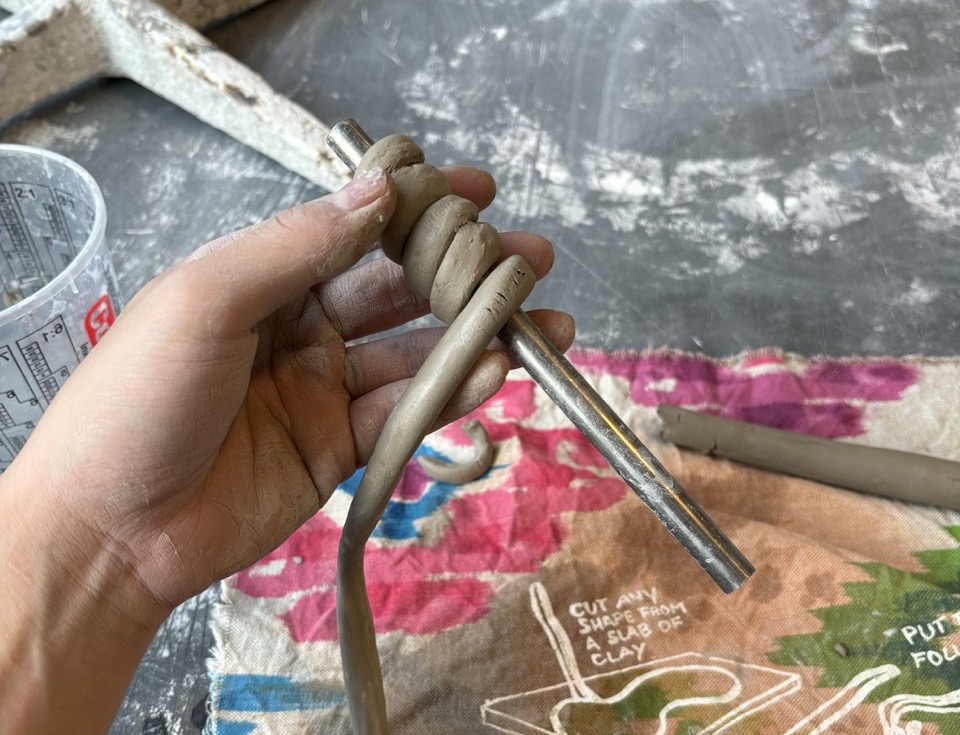
Coiling Clay around Rod 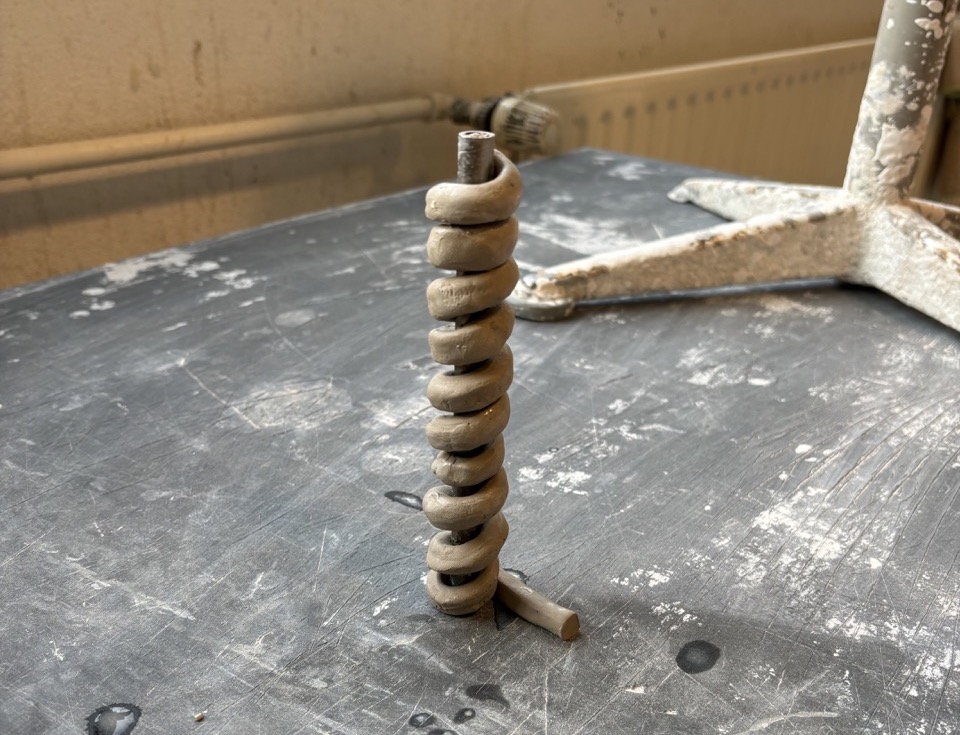
Coiled-clay
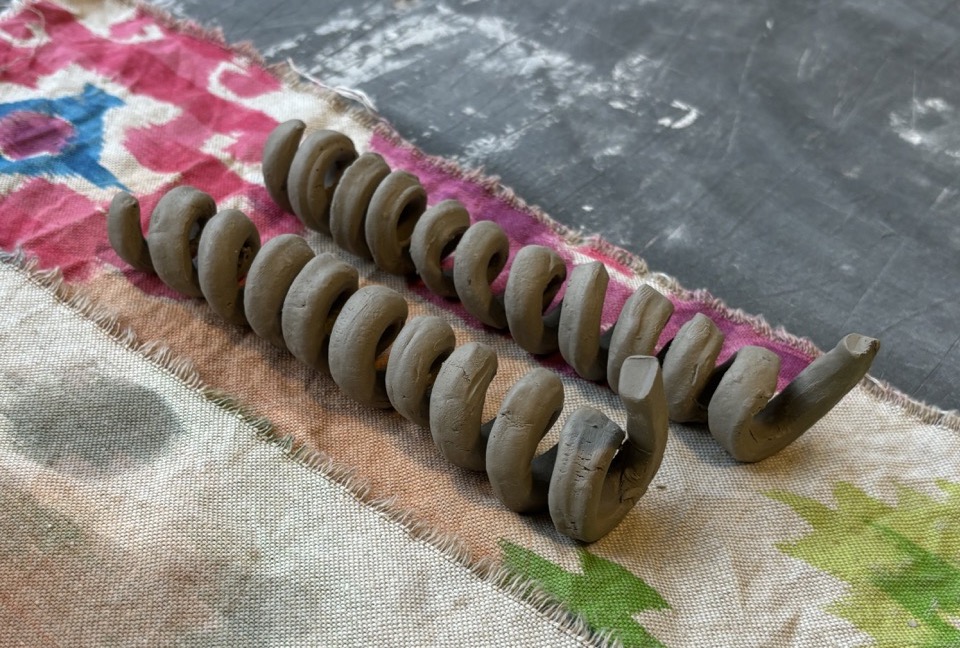
Final Prototype
Acrylic
The tutor did not buy the ceramics prototype. Feeling stucked, I turned to acrylic and learned about the production technique of Heat Forming Press.
I drafted out a plan for a mould made out of wood to create soft-like texture on a acrylic. The result from this curiousity was a half-completed mould and a burning curiosity of this abandonned question.
However, as half of the mould was already made, I thought it was worth documenting the process!
P.S. looking back, I should have committed to this curiosity. But, well at least it's documented here and I can always revisit!
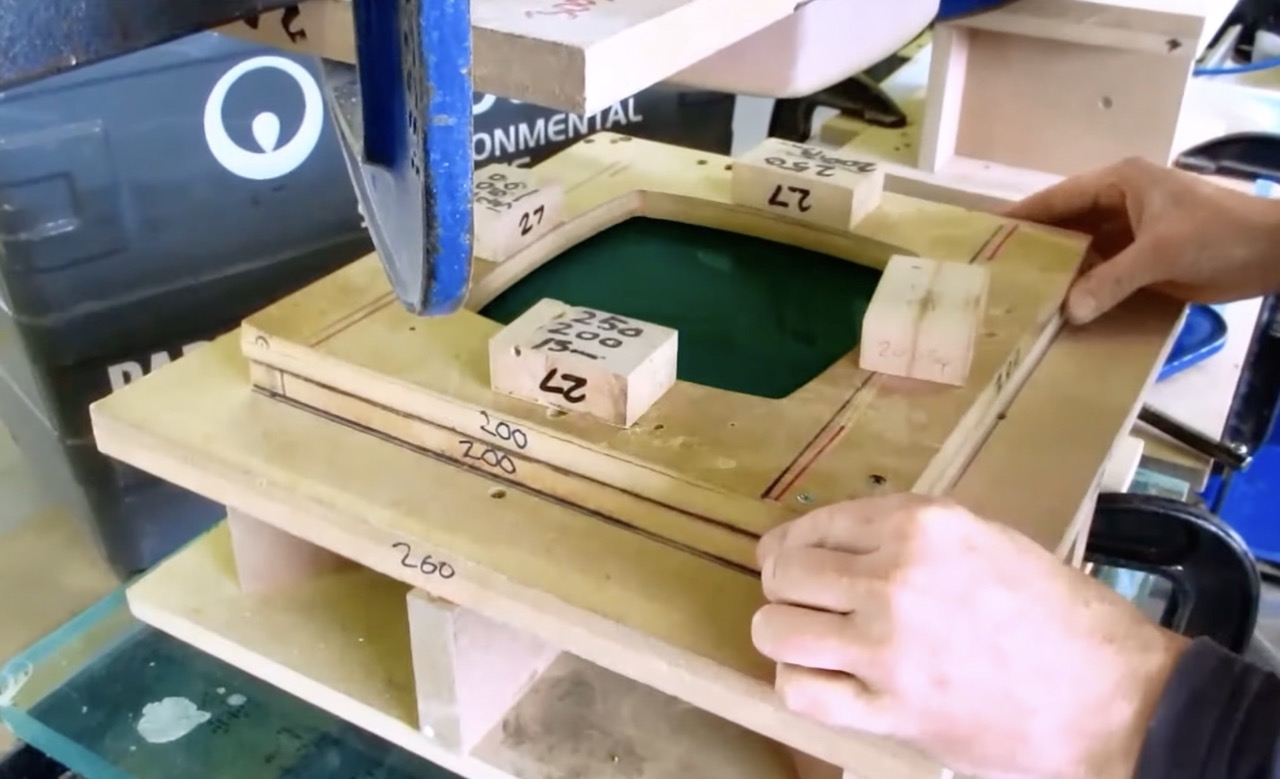
Mould for Heat Forming Press 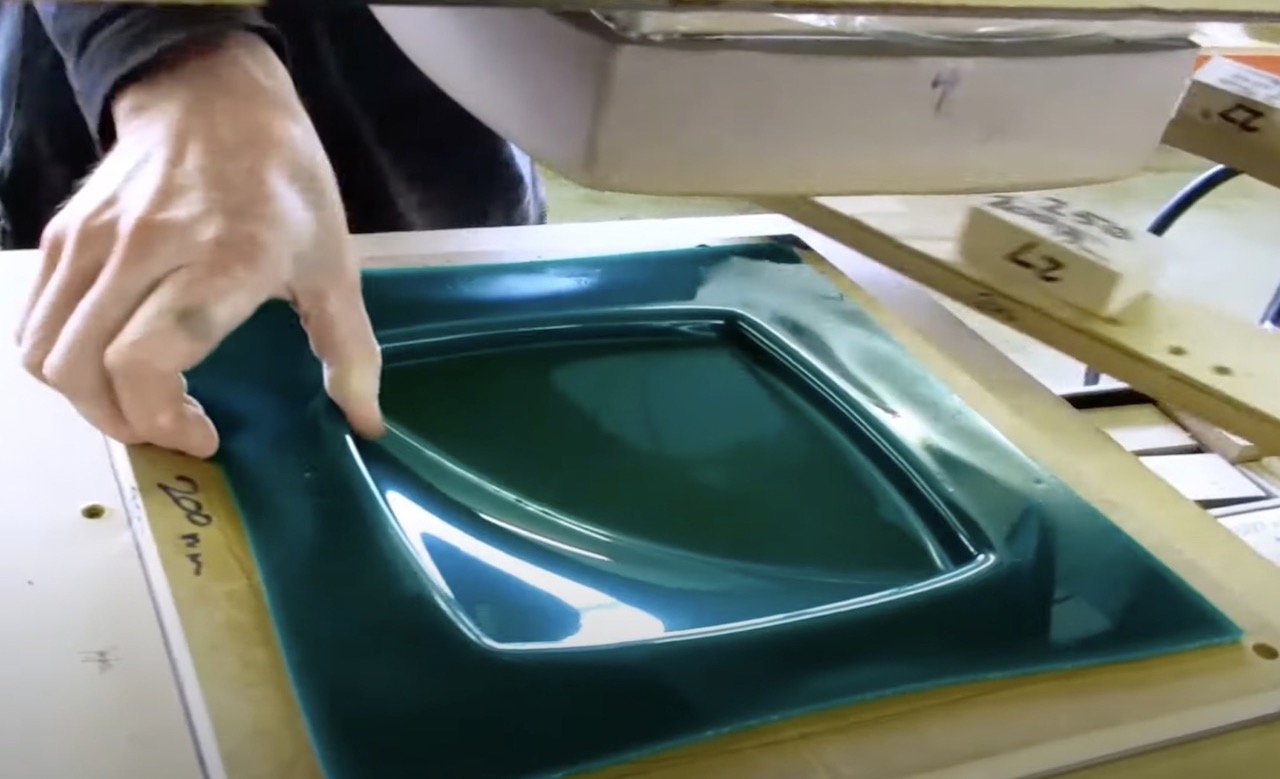
Result from Heat Forming Press
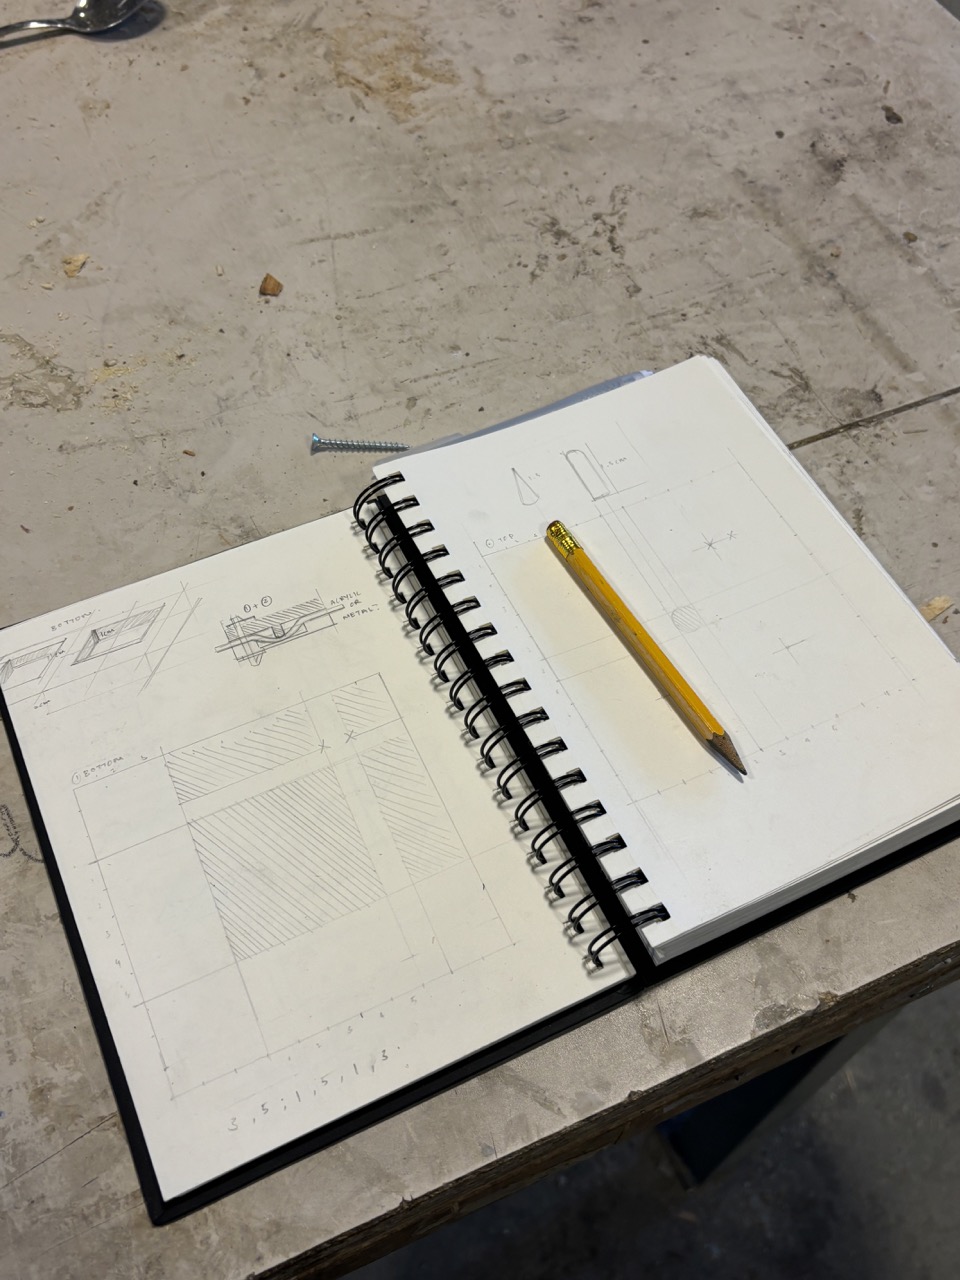
Sketch Plan for Mould 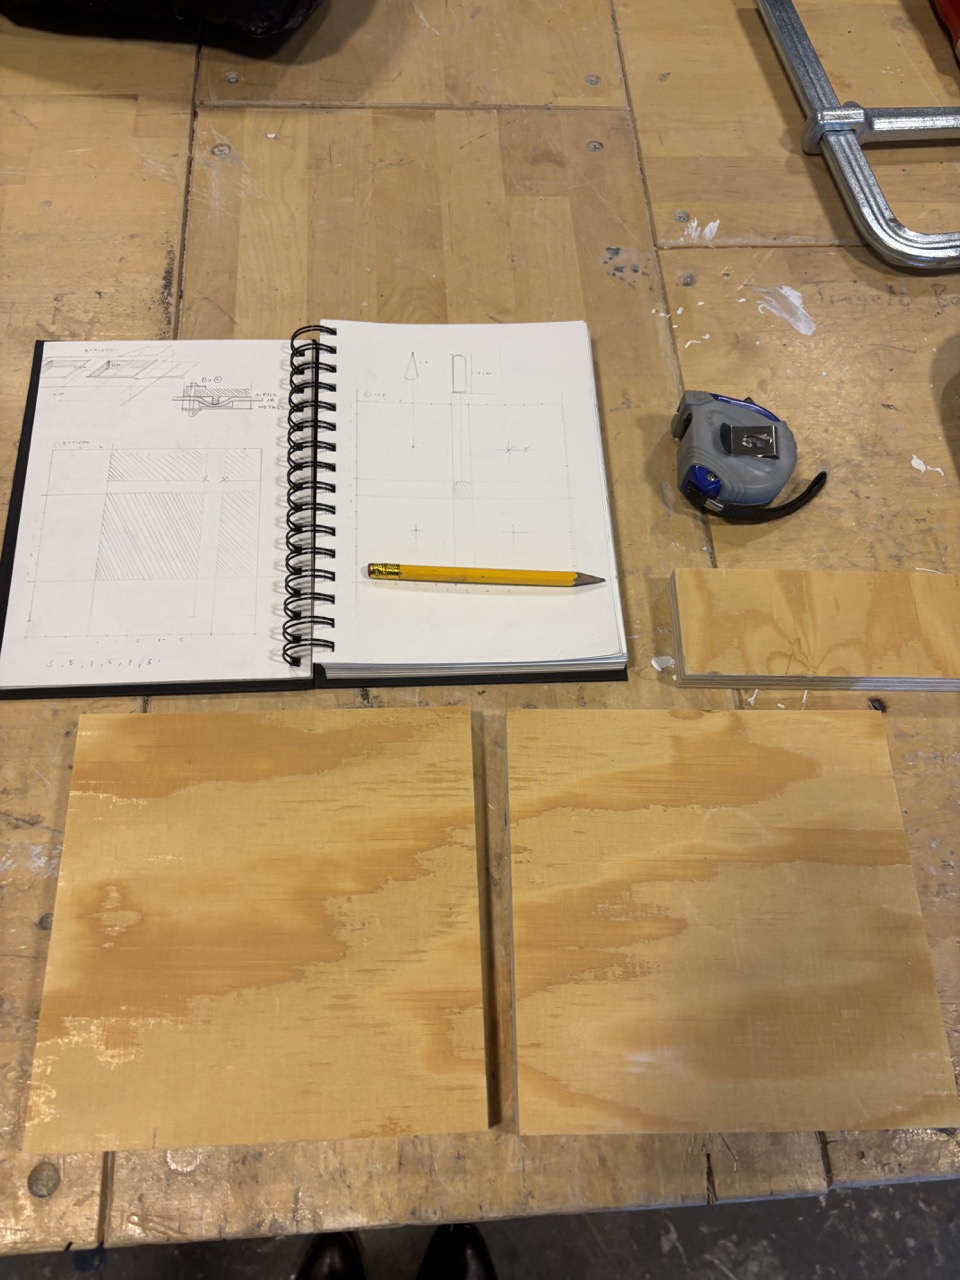
Marking the Mould
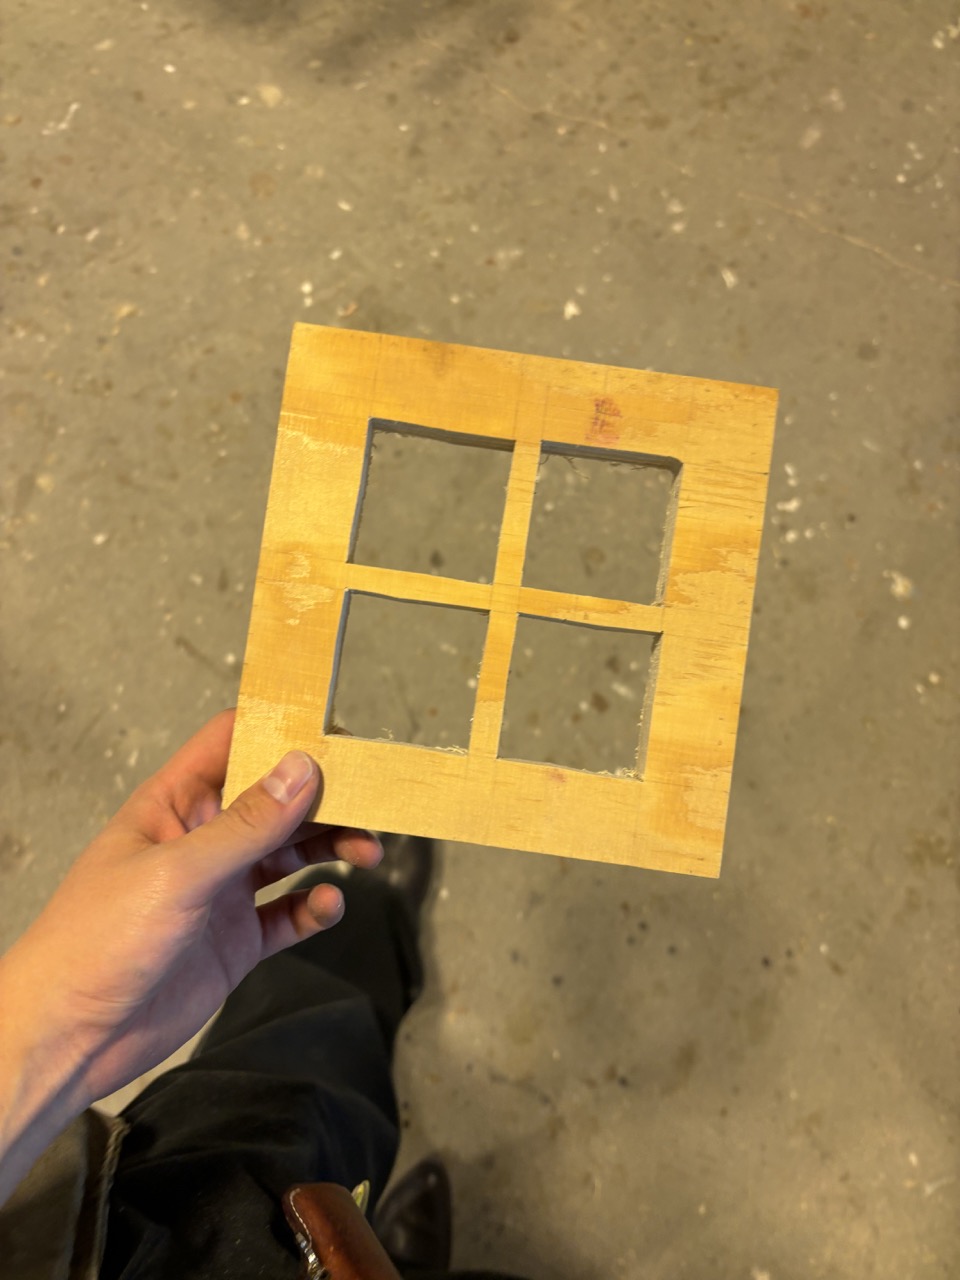
Trimming the Mould 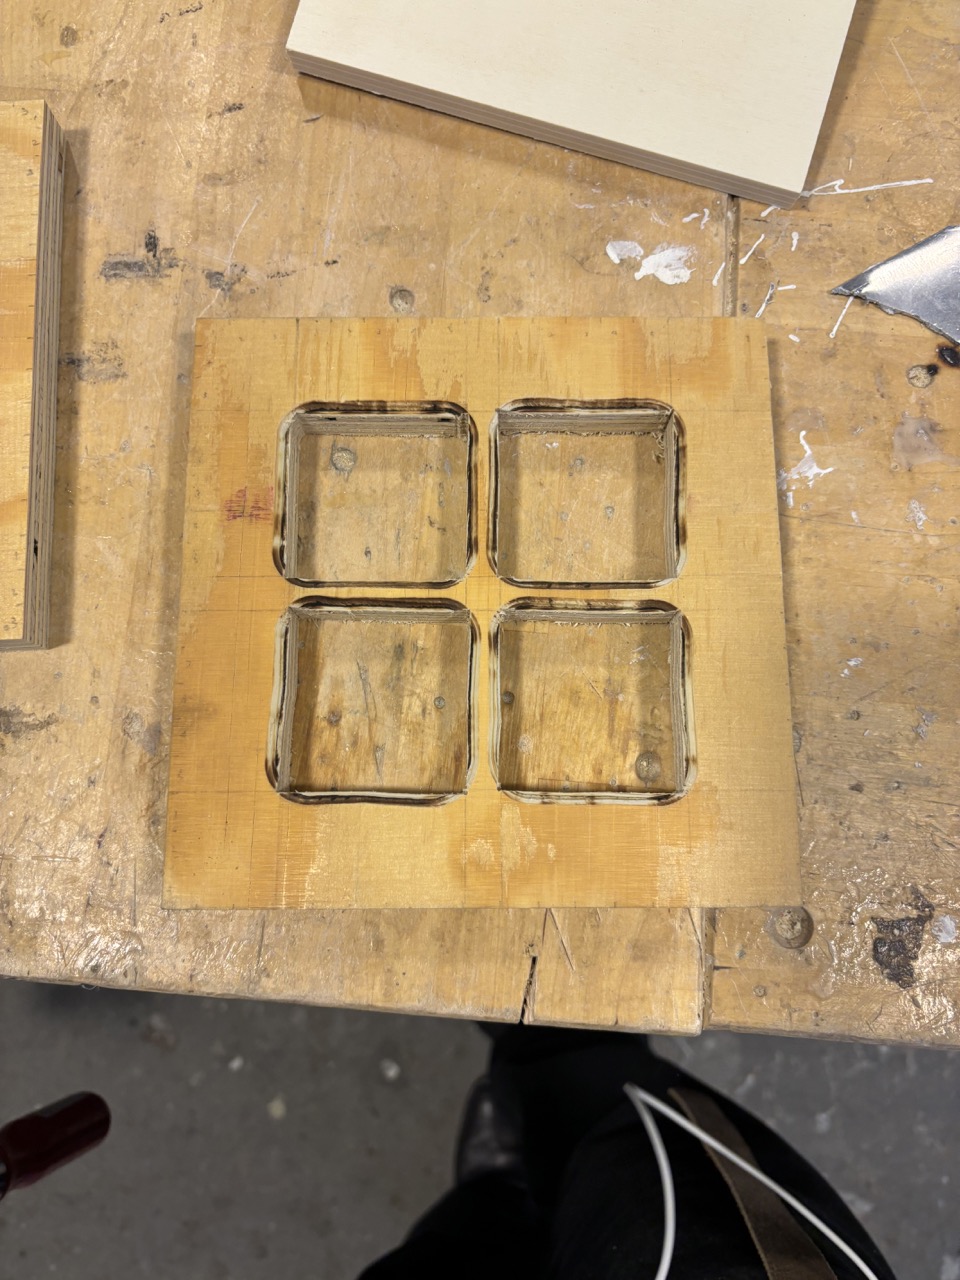
Rounding the edges of the mould
Pulp
In the spur of a moment, and deep reflection about how this class relates to my practice as a graphic designer, I decided to turn to pulp.
With the half-completed mould, I decided to try making paper with pulp and unconventional mateials.
Materials included: Coffee Grounds and Onion Skins.
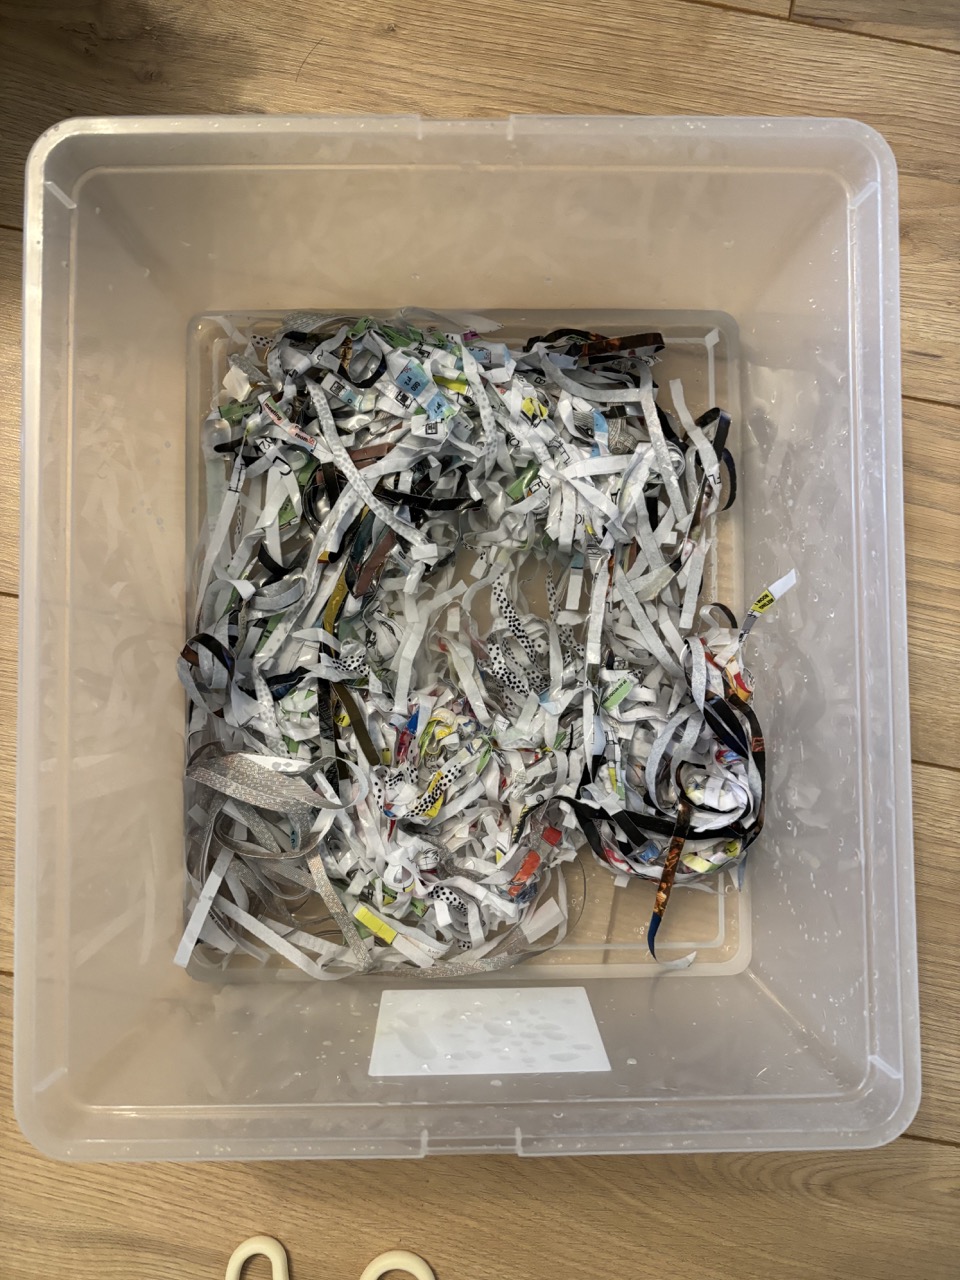
Soaking paper in water 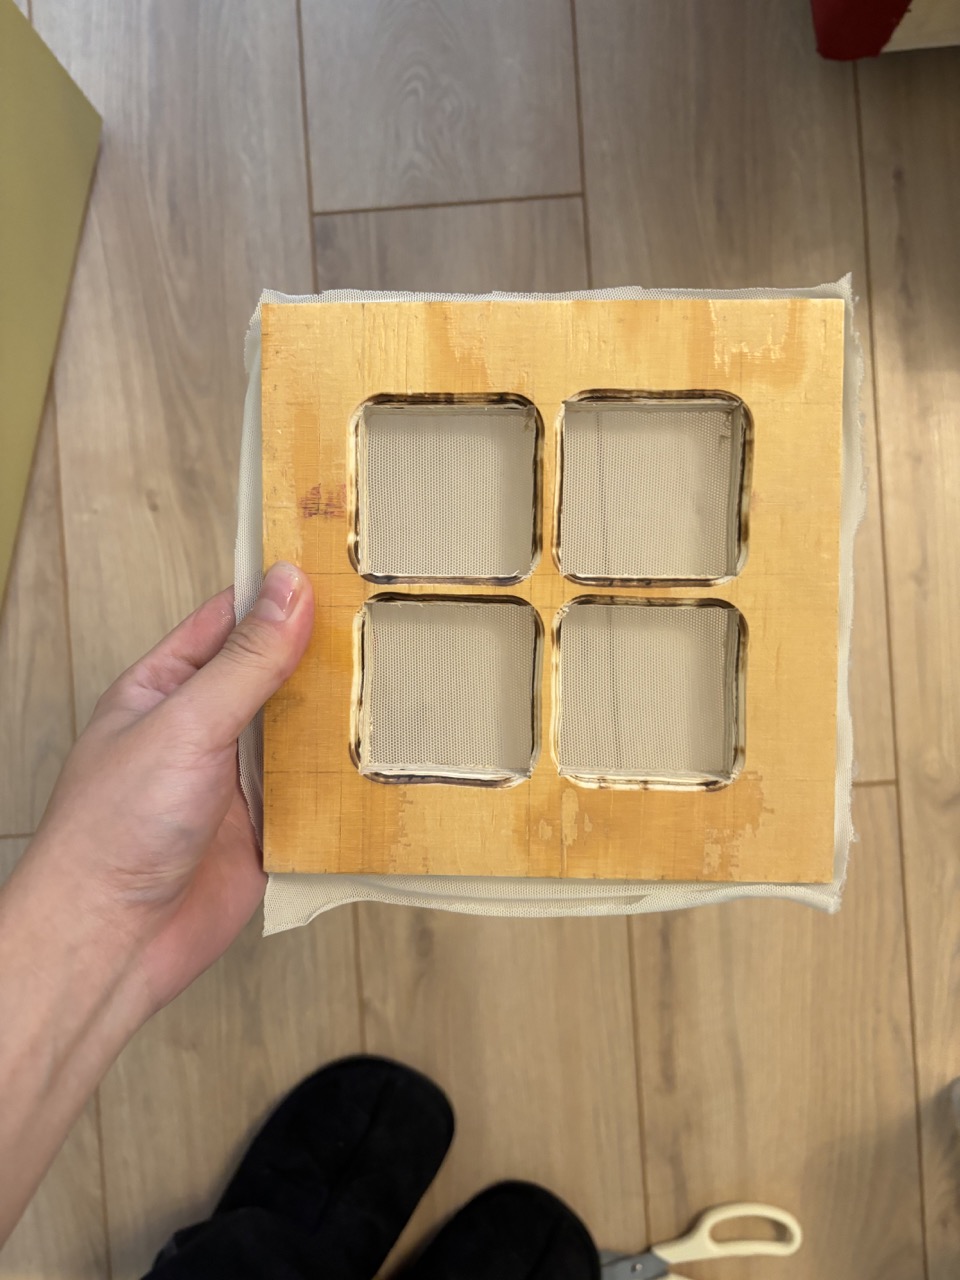
Attaching mesh to mould 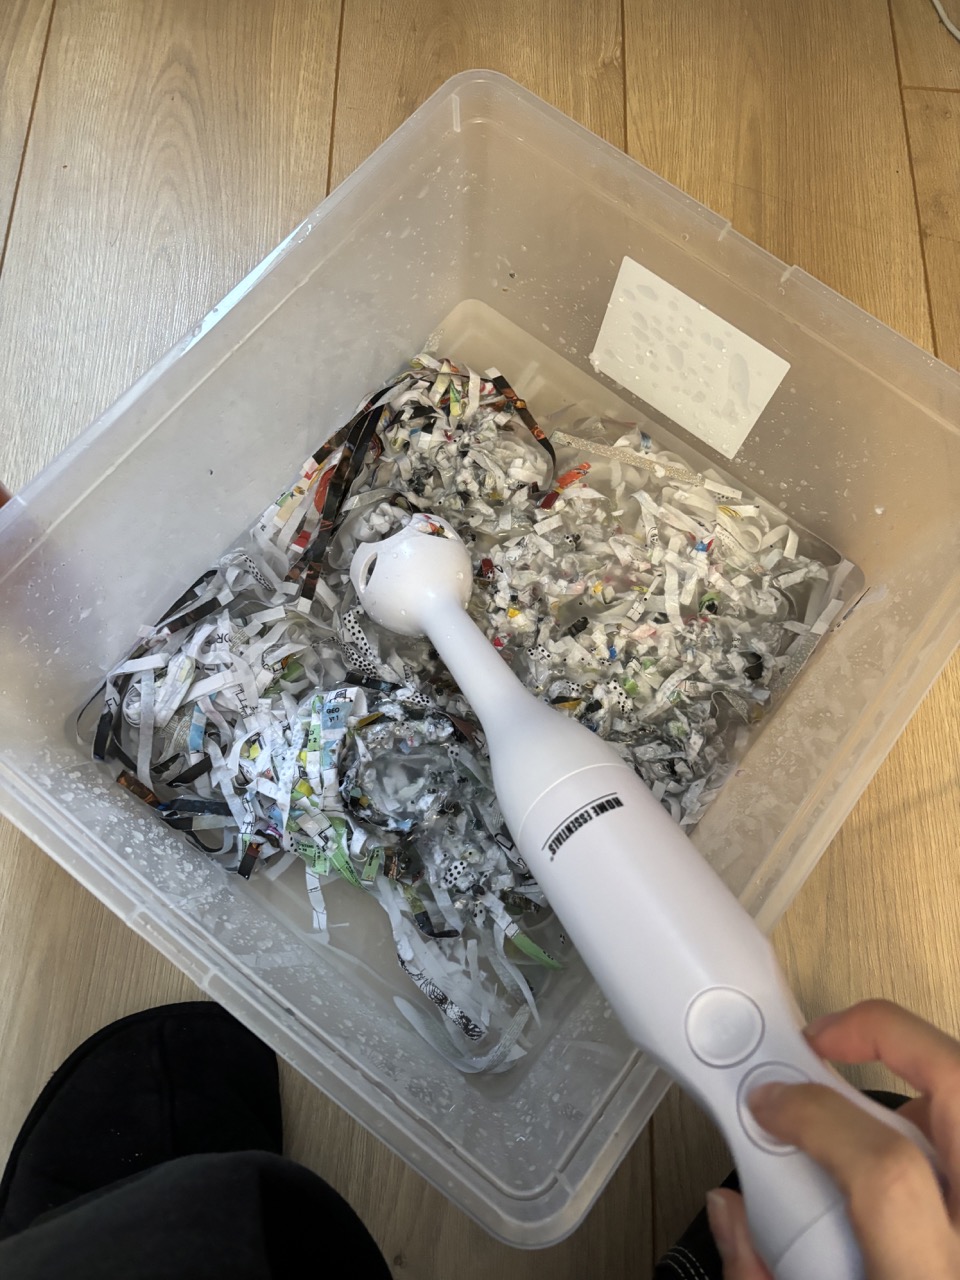
Grinding pulp
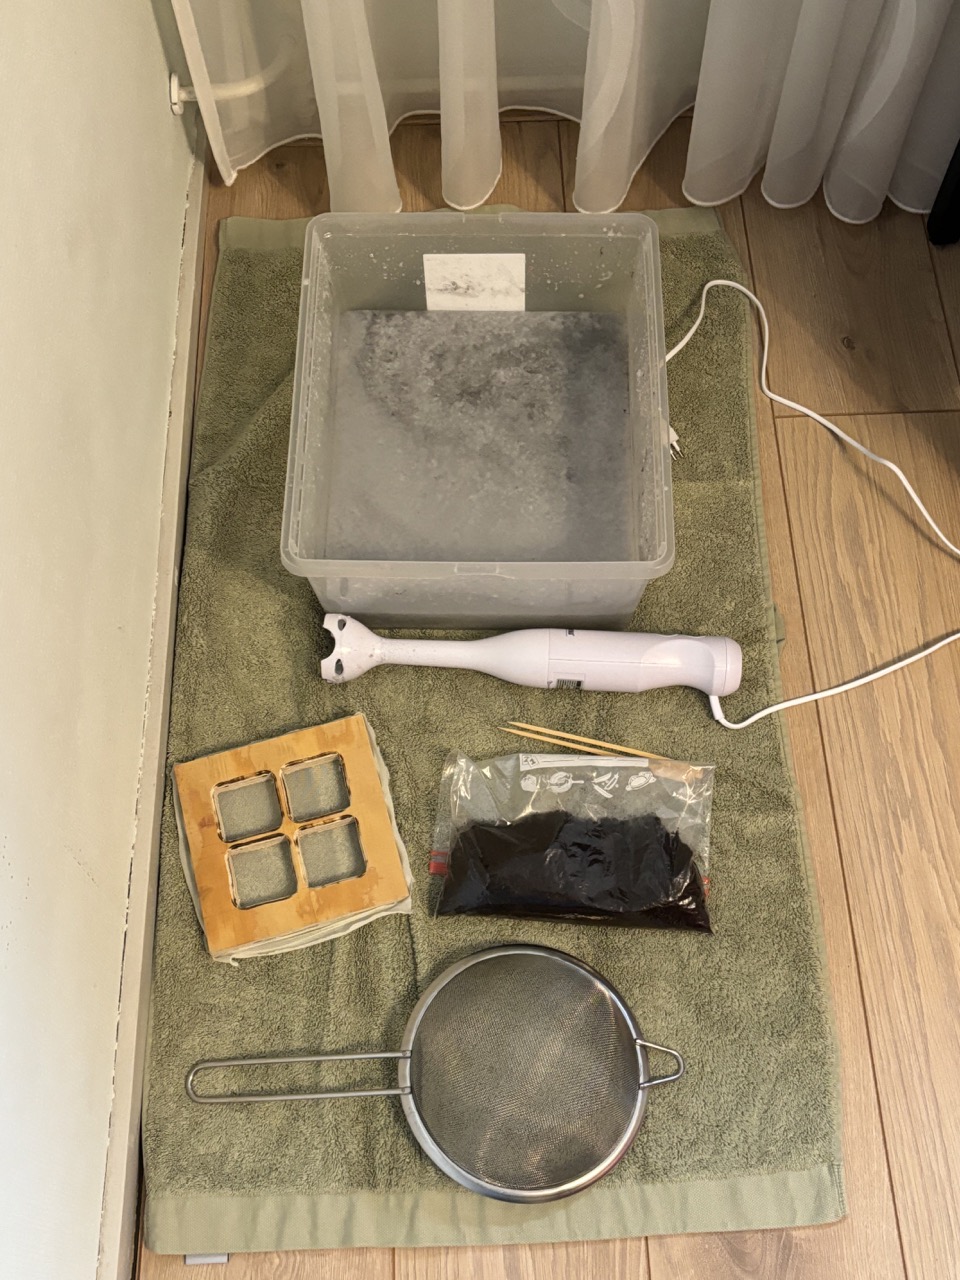
Home Set-Up for Pulp-making 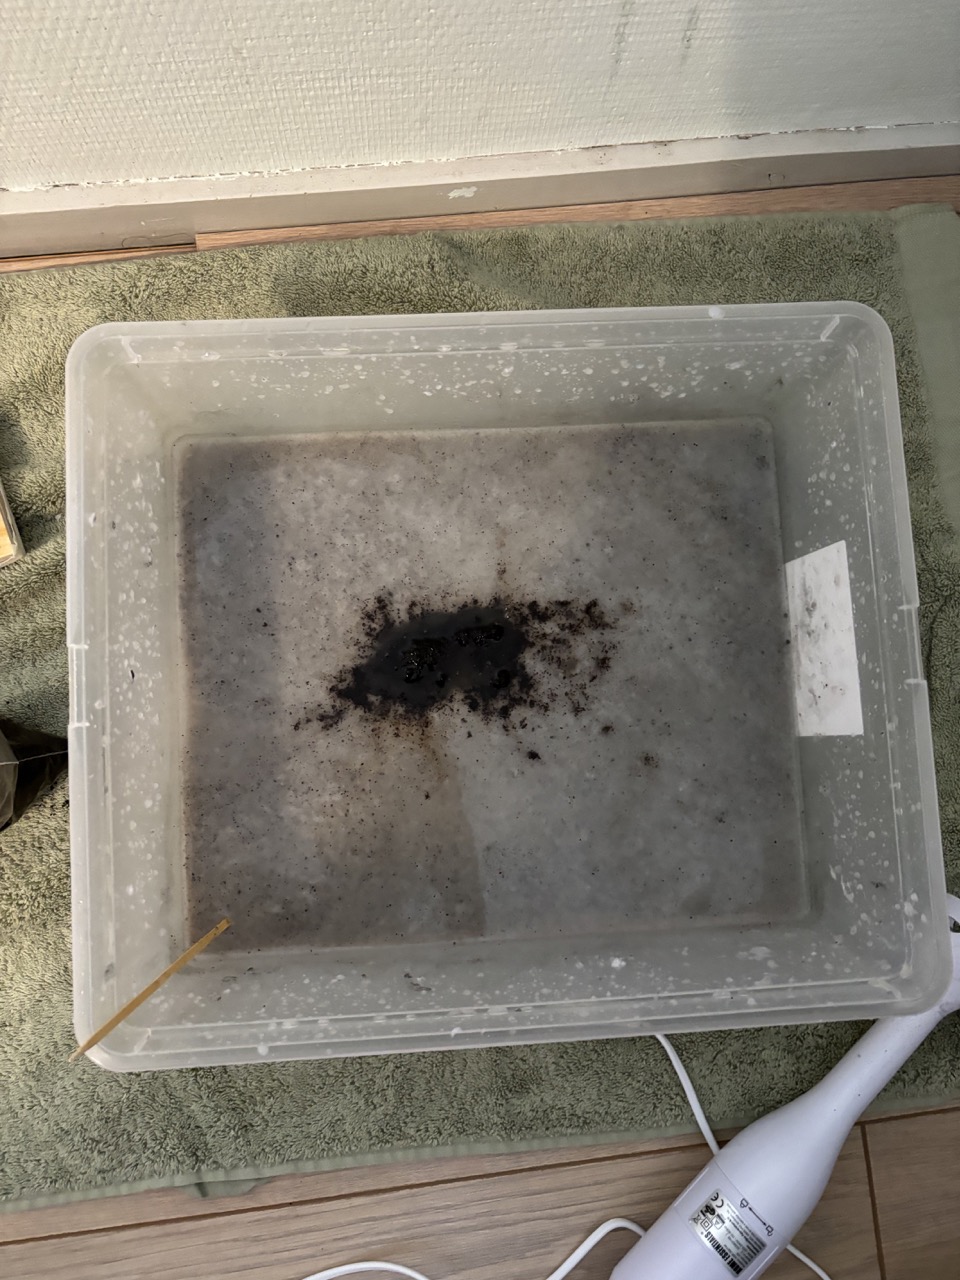
Adding Coffee Grounds to Pulp 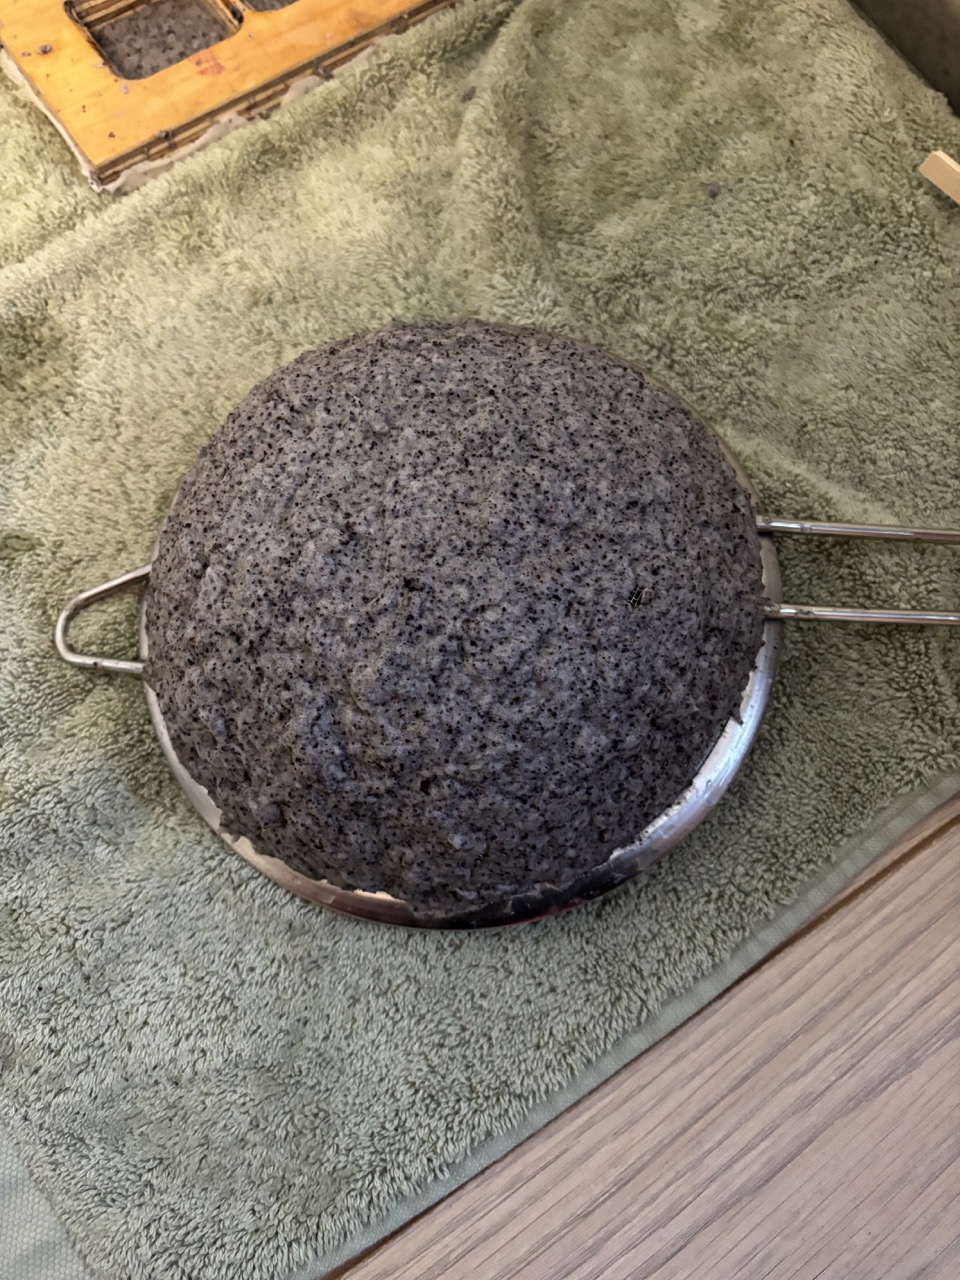
Testing pasta strainer as mould 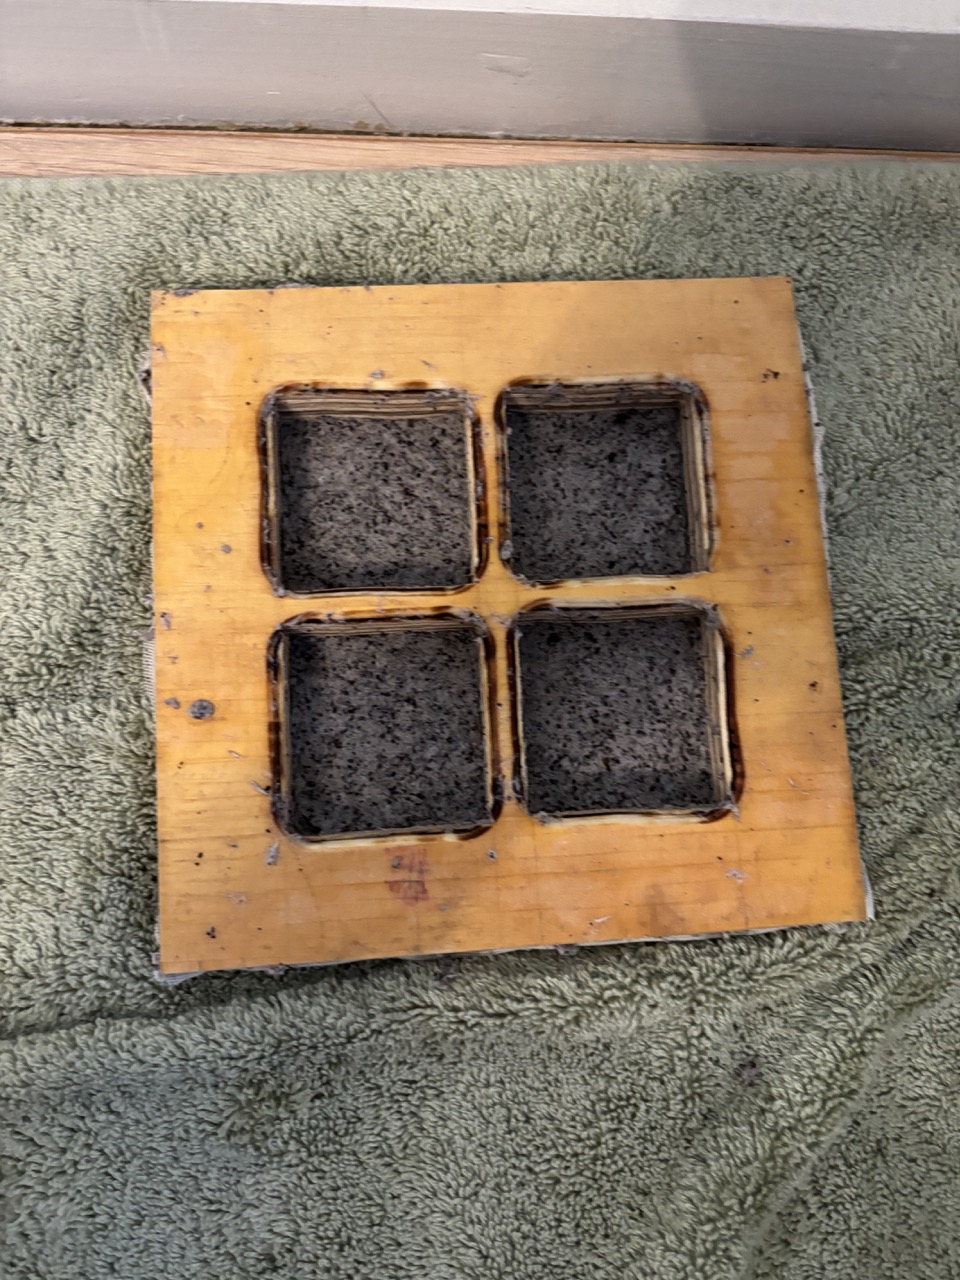
Testing regular frame as mould 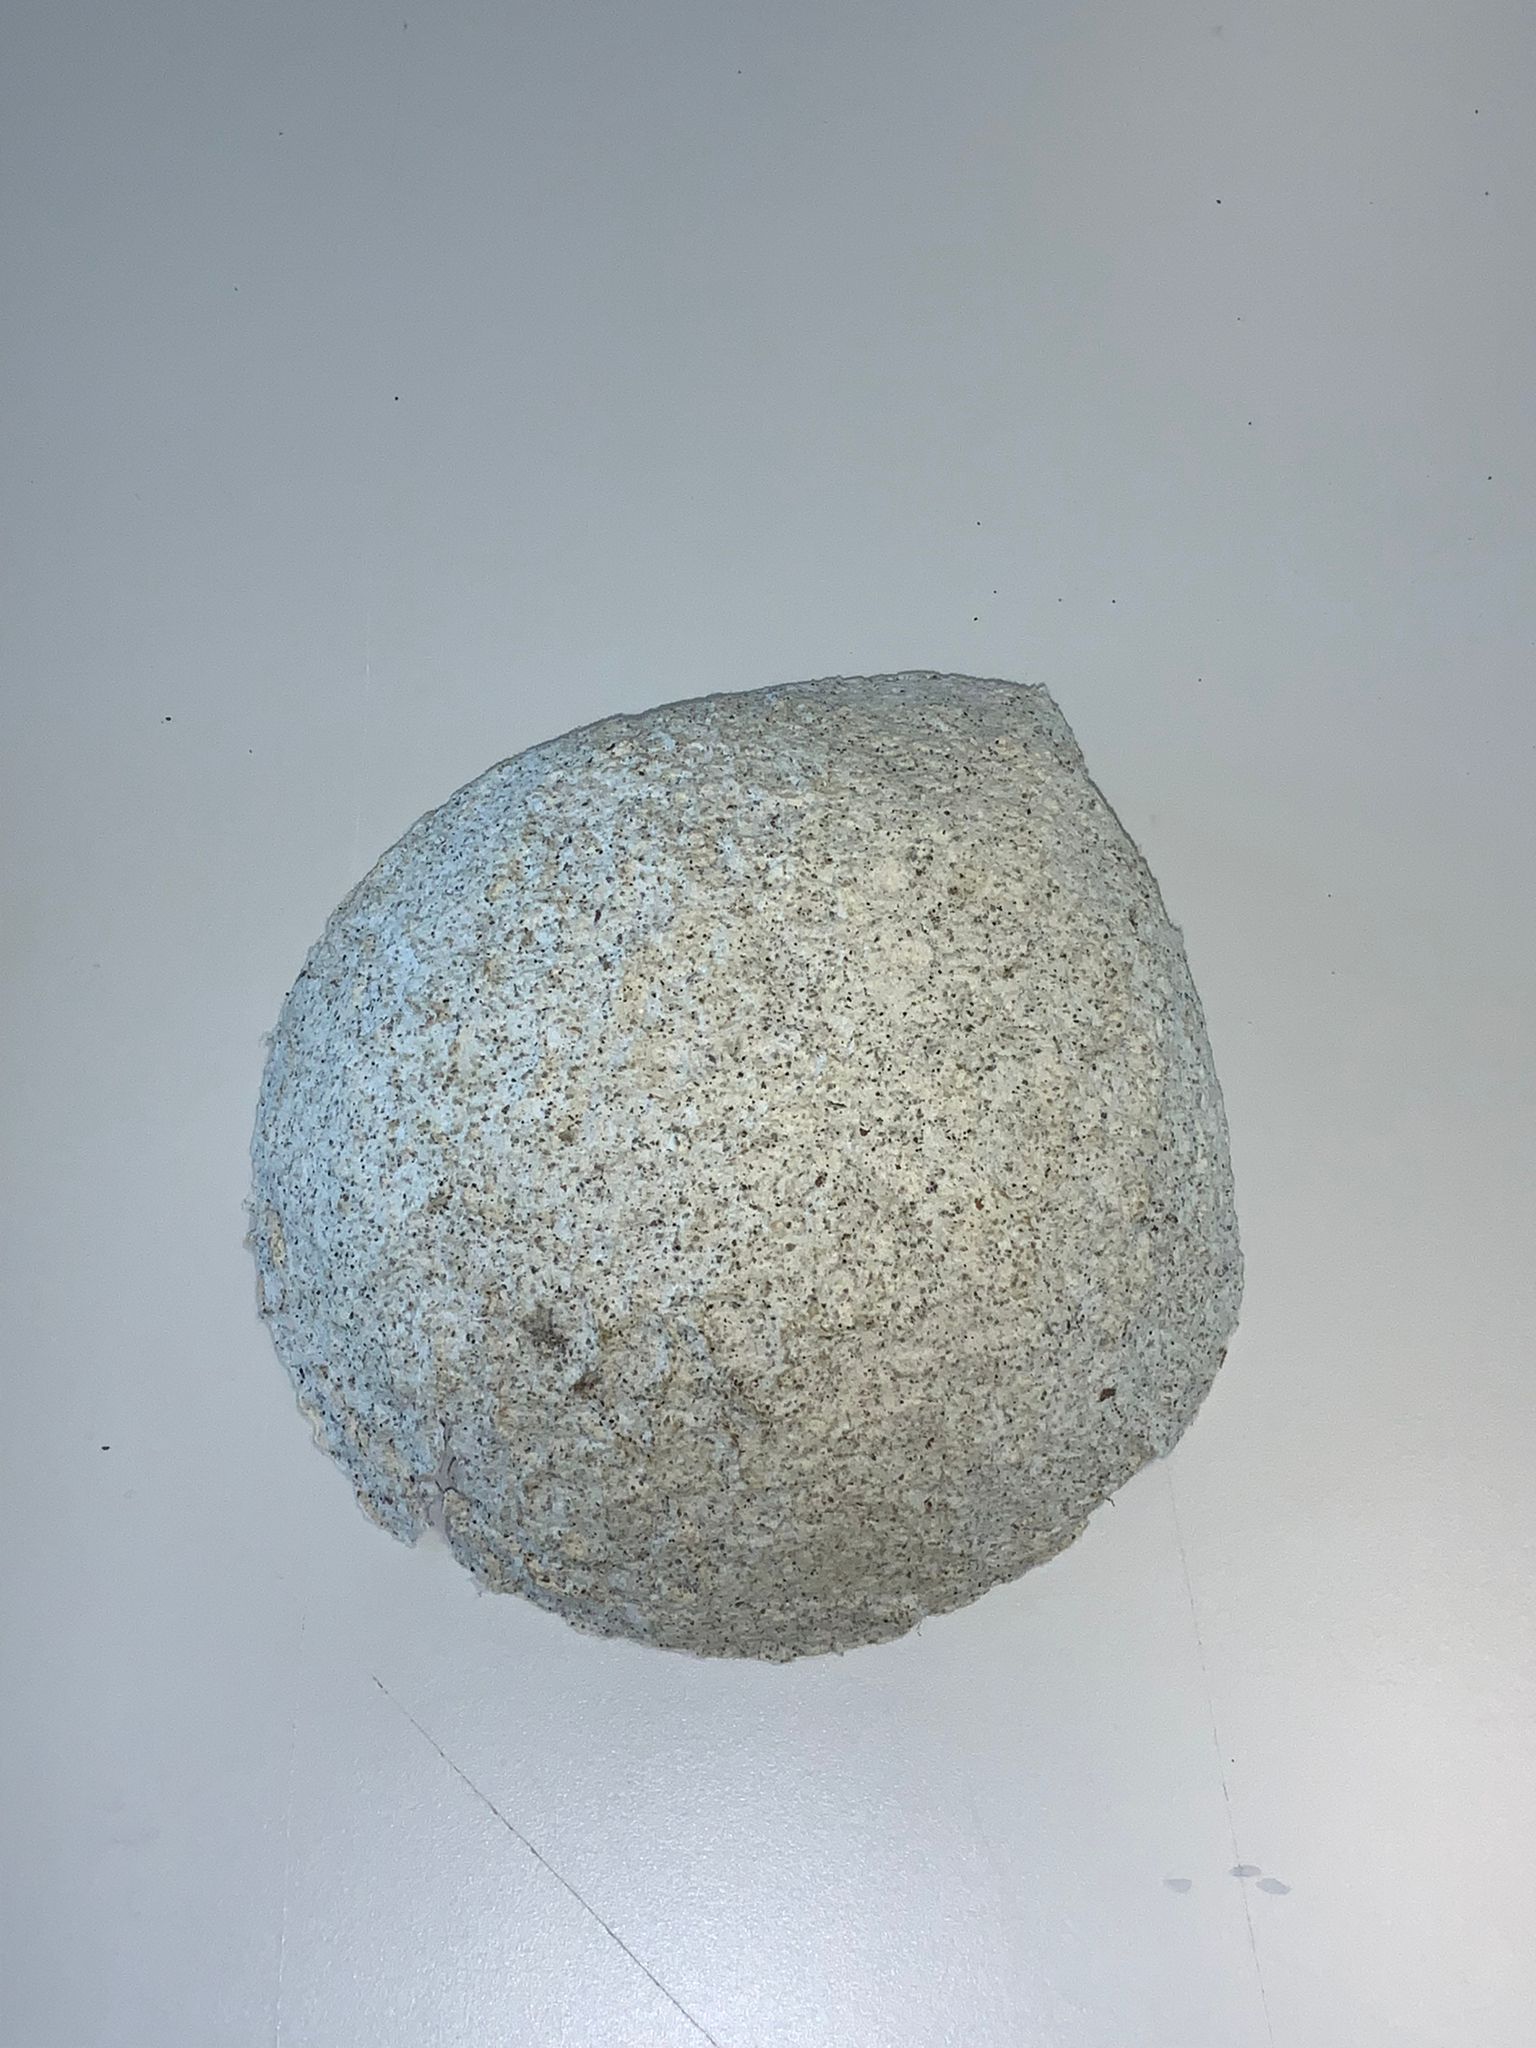
Result from testing pasta strainer as mould 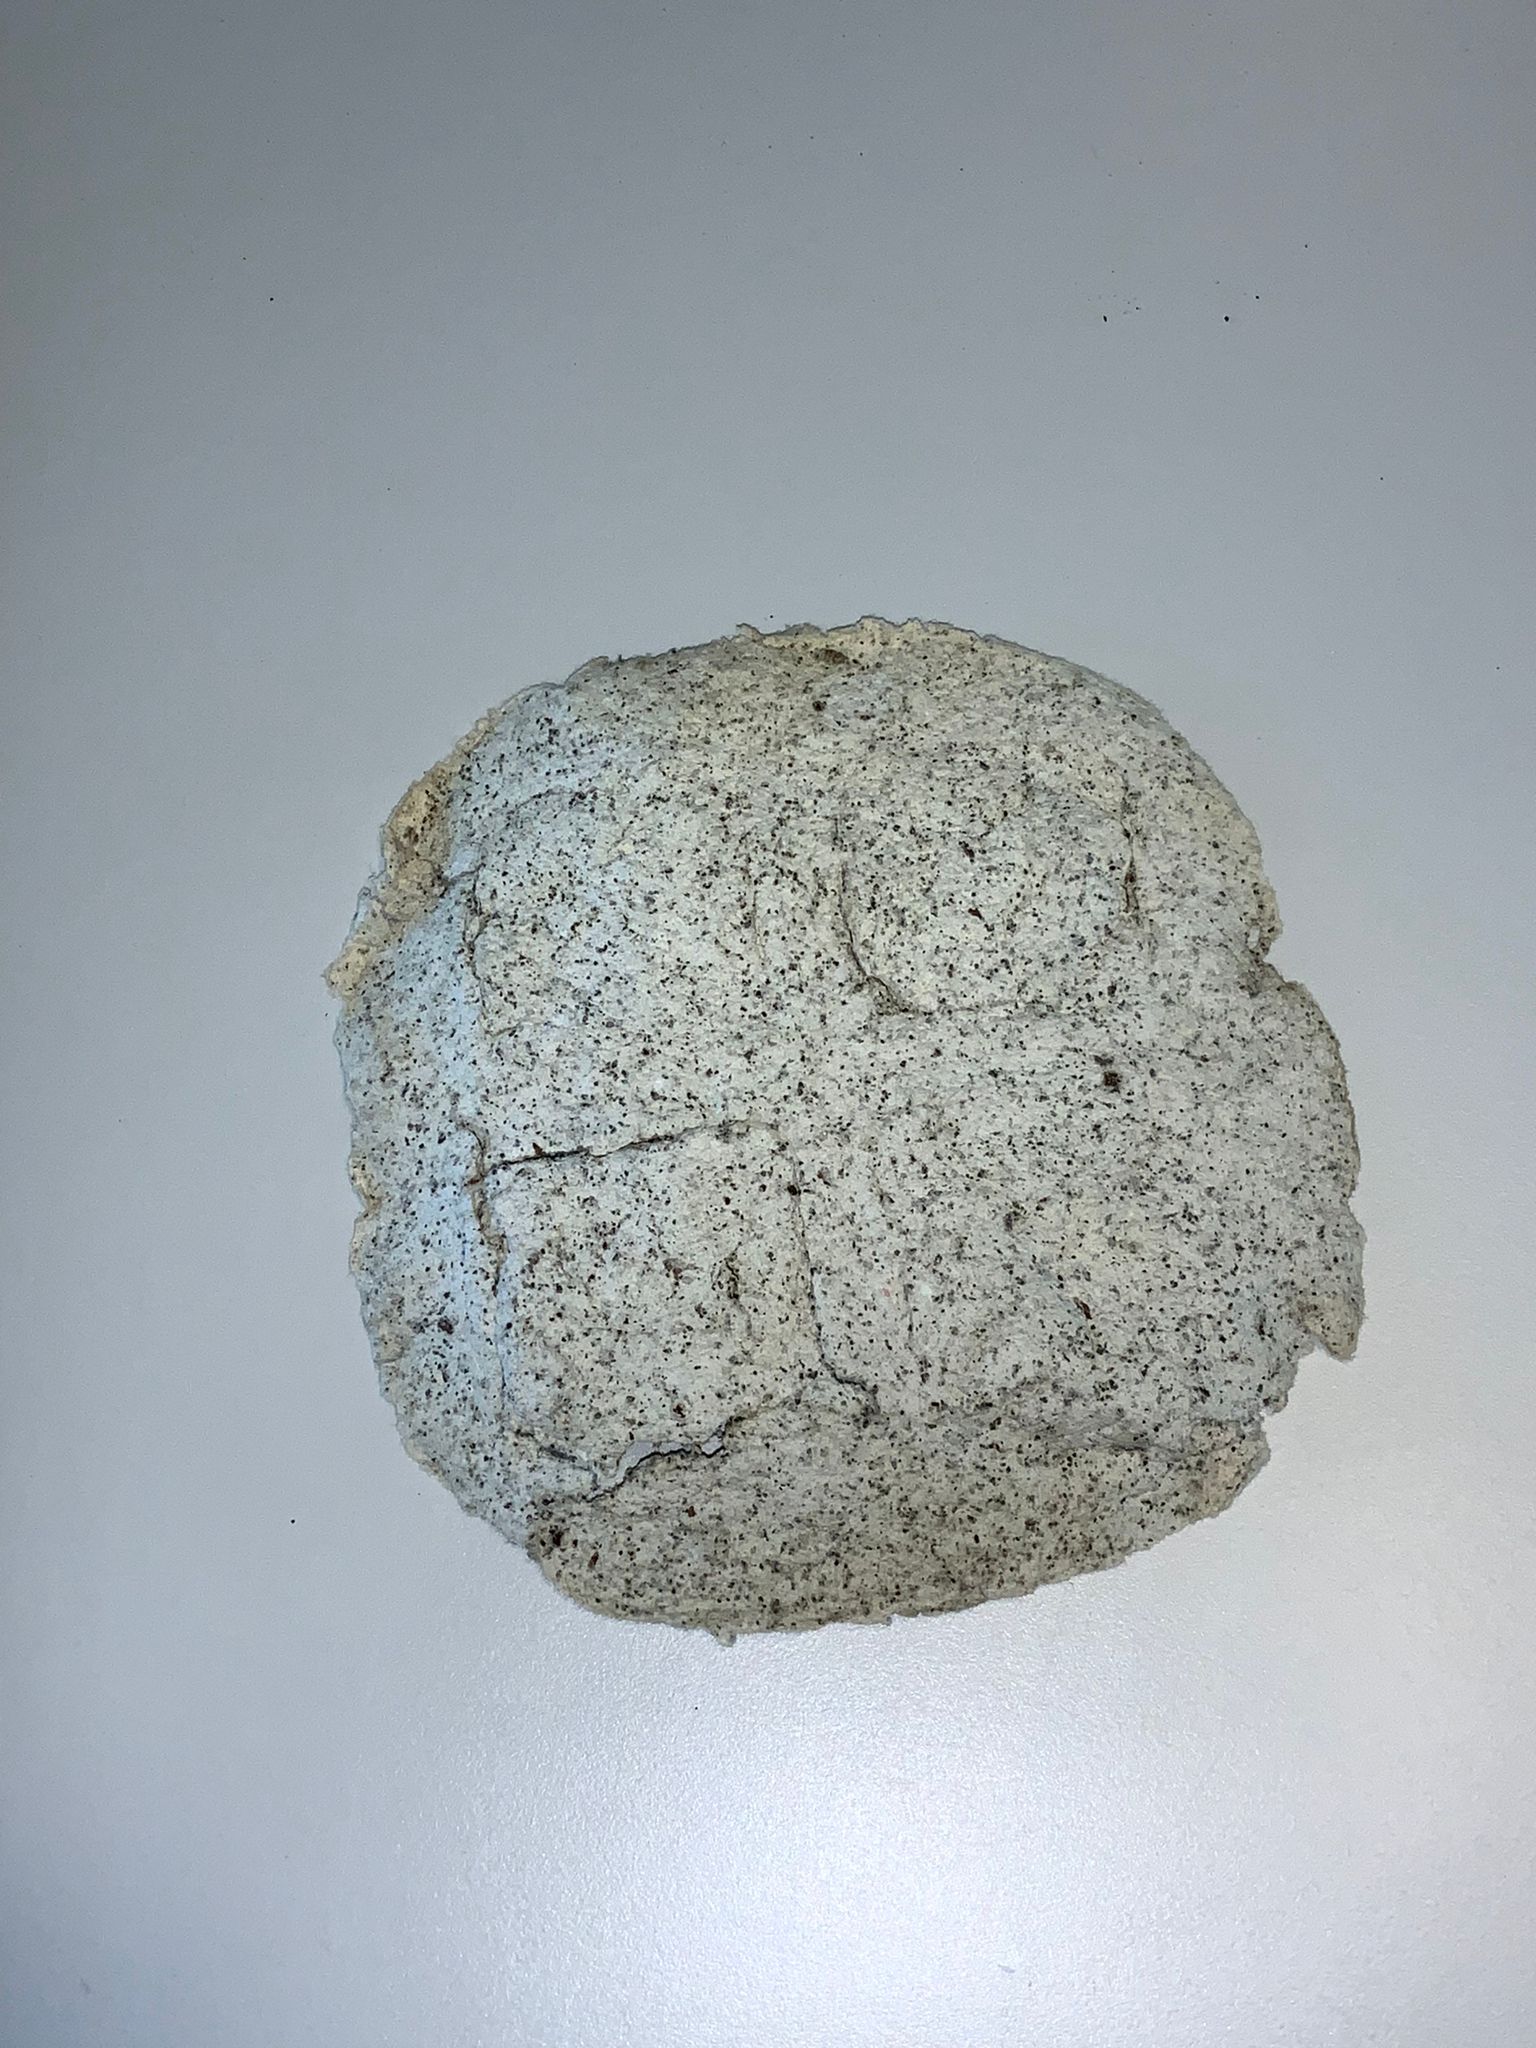
Result from testing regular frame as mould
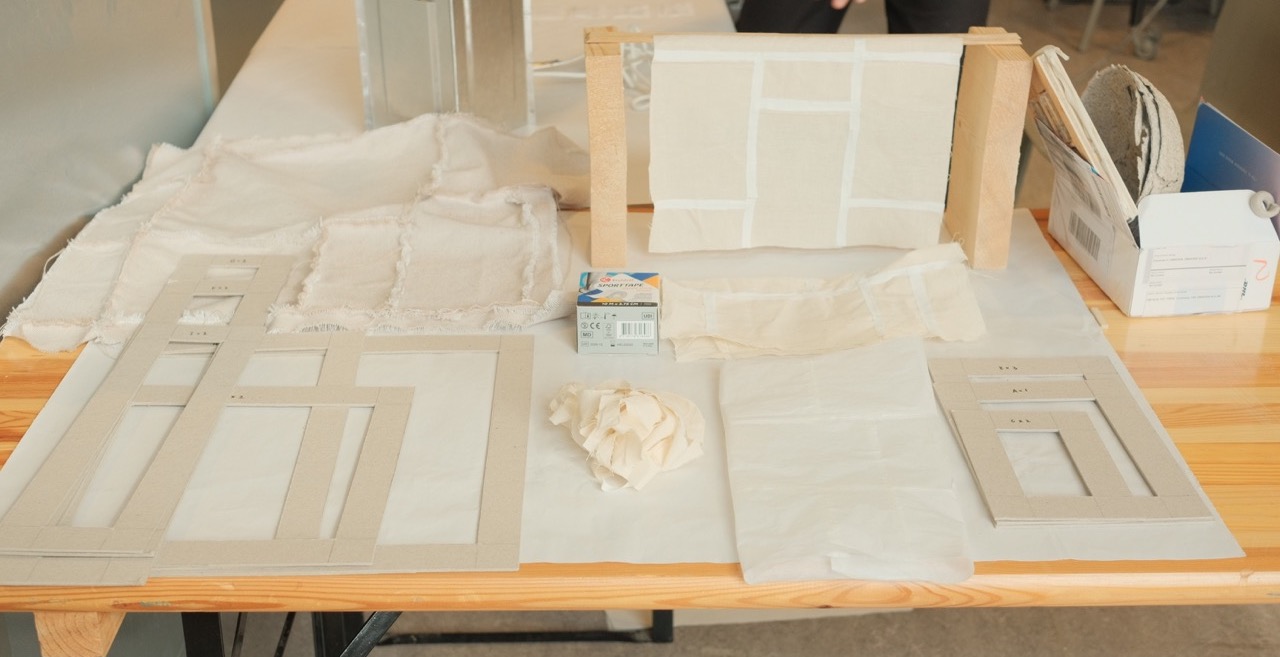
Fabric
The origina idea I had in mind when exploring pulp as a meterial was to eventually make a patchwork curtain inspired by Pojagi Curtains.
As paper pulp took such a long time, and counter-productive to a class about making production technique efficient, I decided to use used-fabrics instead and focus on how I can bring new ways of doing patchwork.
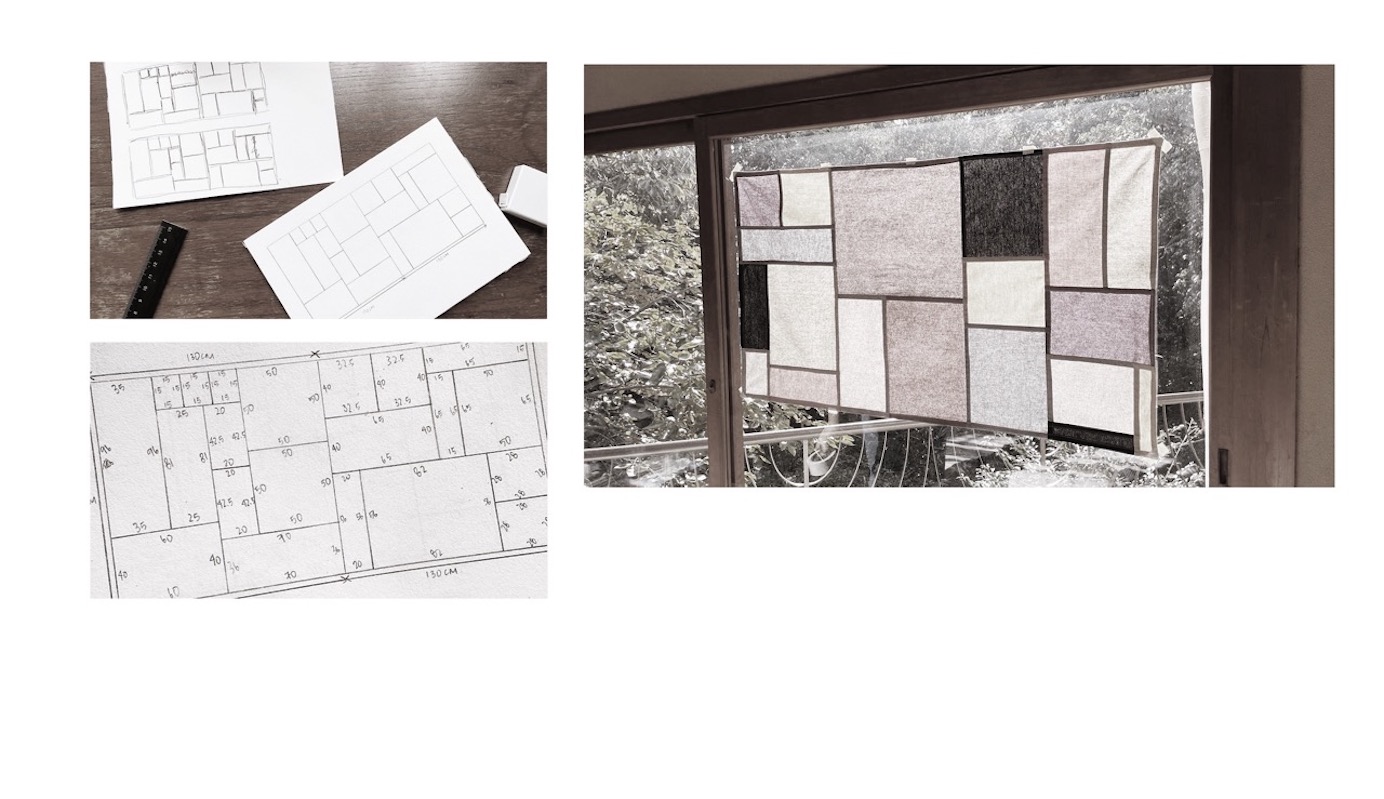
Resources from online 
Digital plan for the moulds 
Set-Up for cutting the moulds 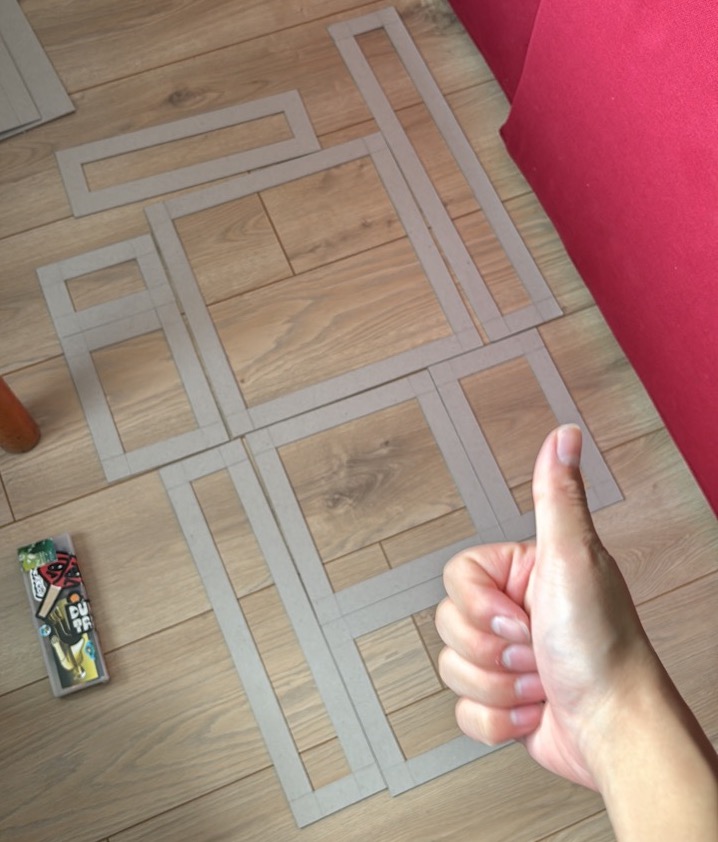
Cutting the moulds 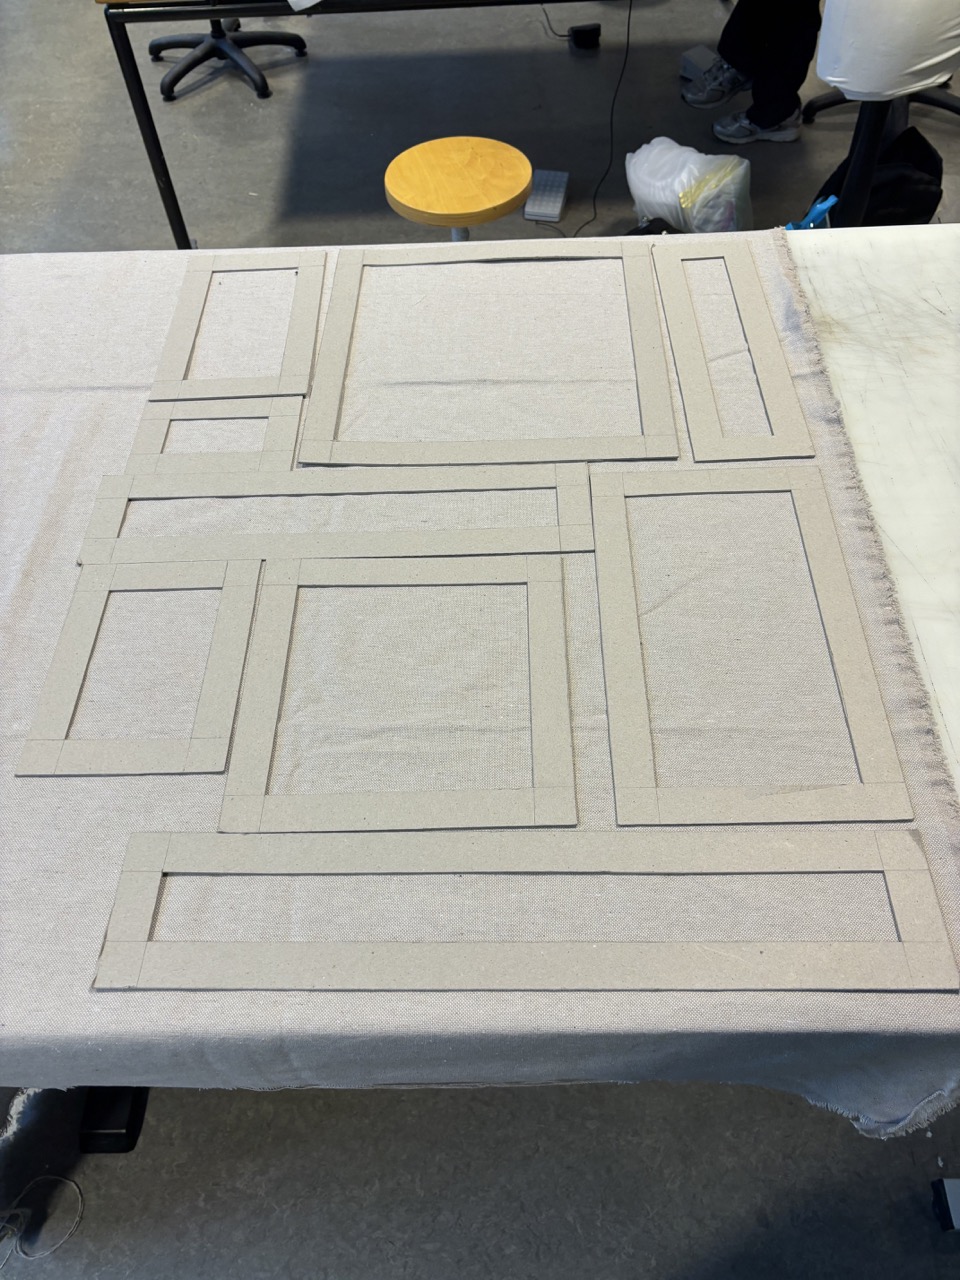
Laying moulds on used-fabric 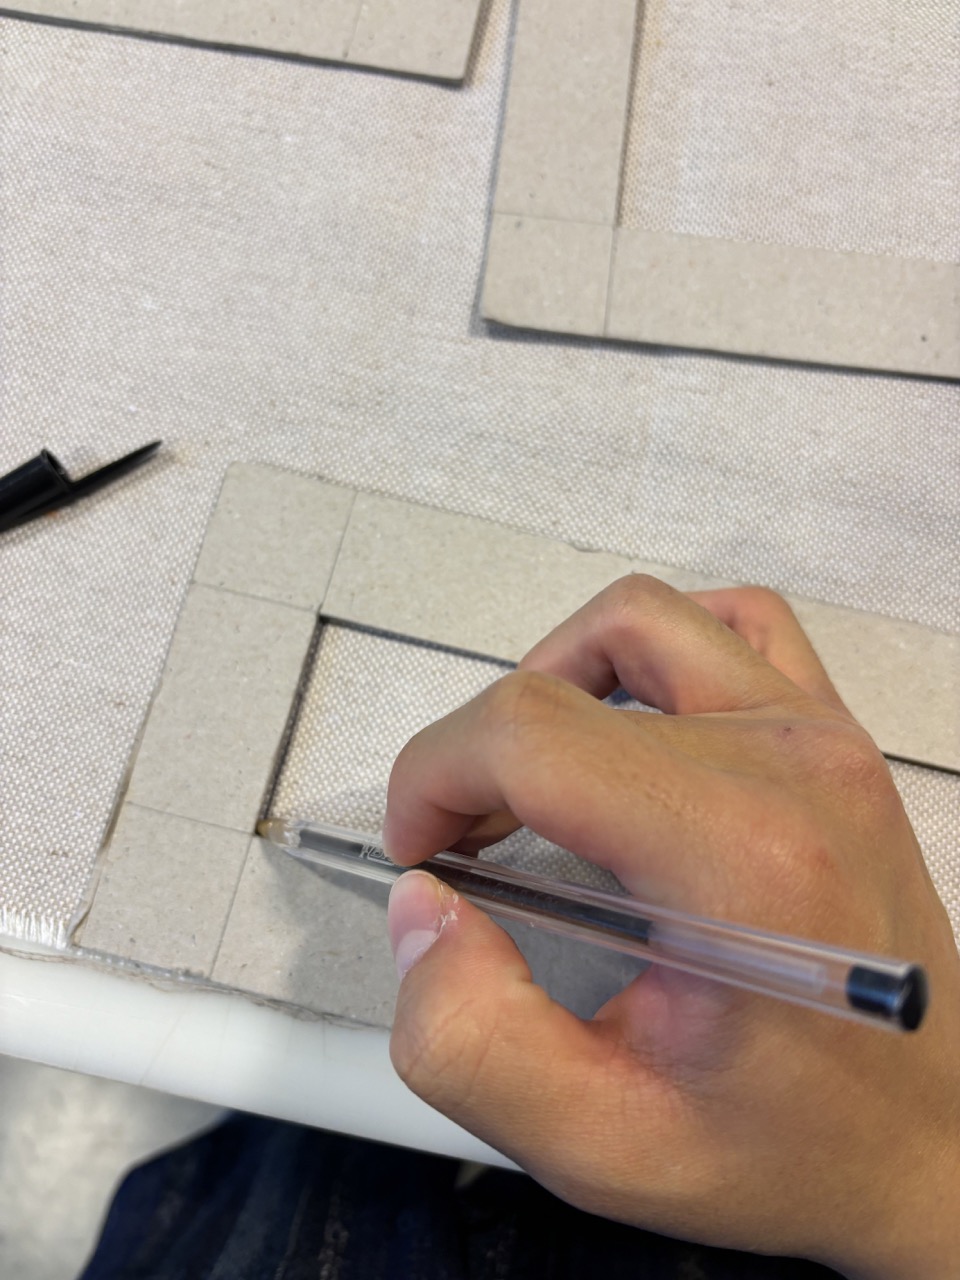
Marking the patterns using the moulds 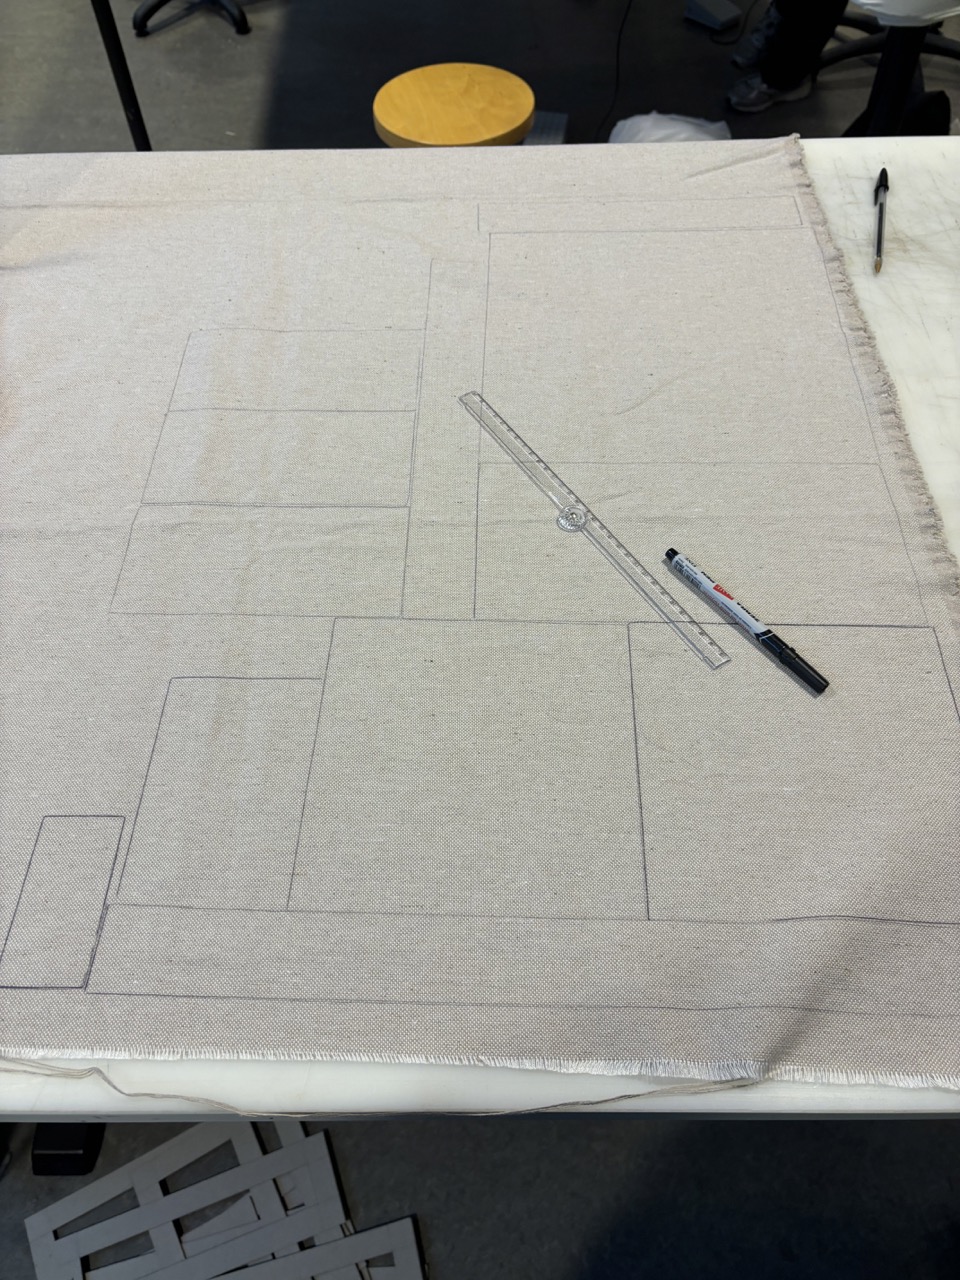
Cutting the patterns 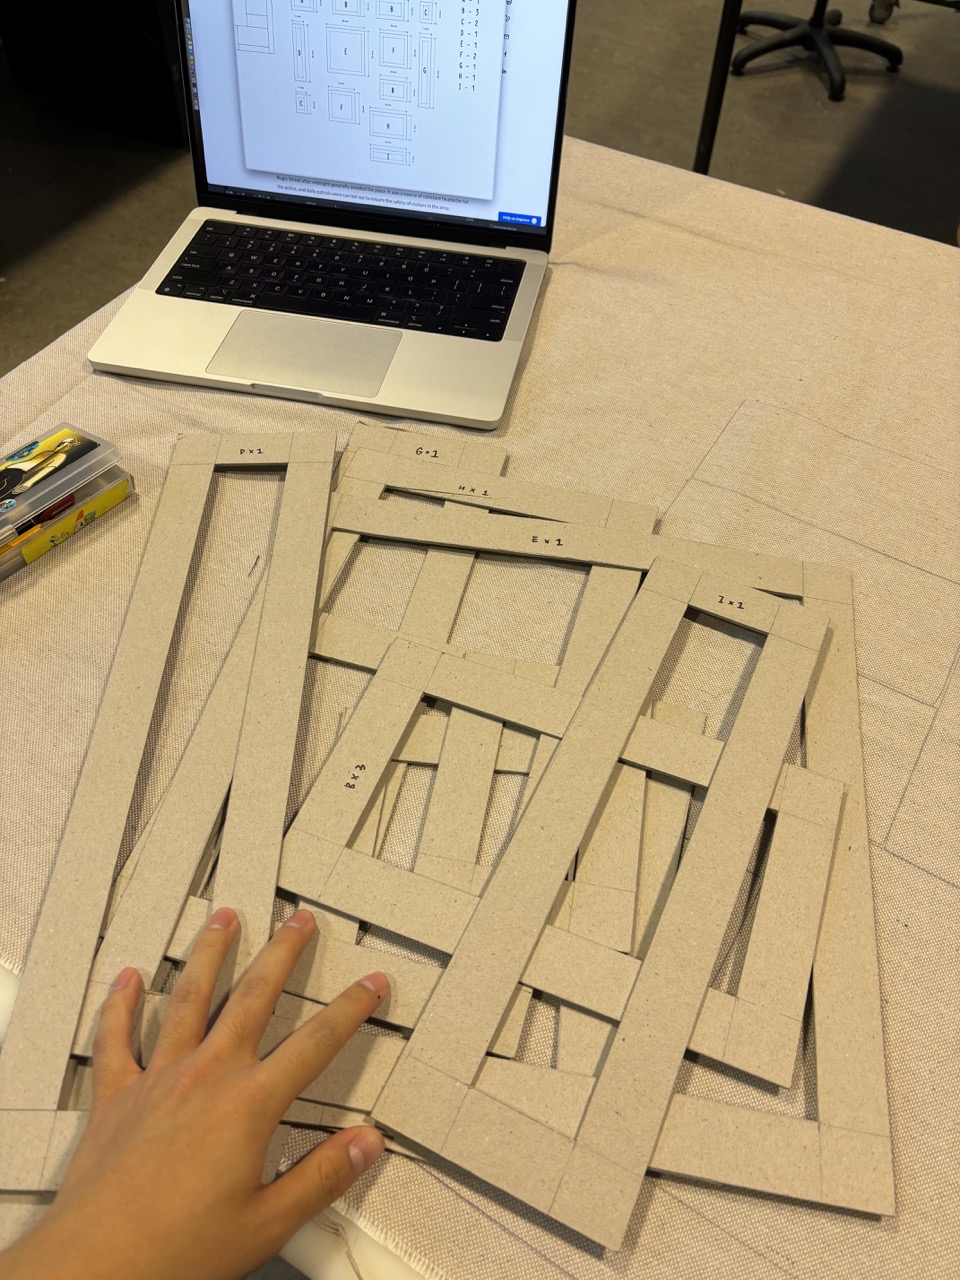
Labelling the moulds 
Reconfiguring the patchwork to just three moulds 
Replacing sewing with fabric tapes 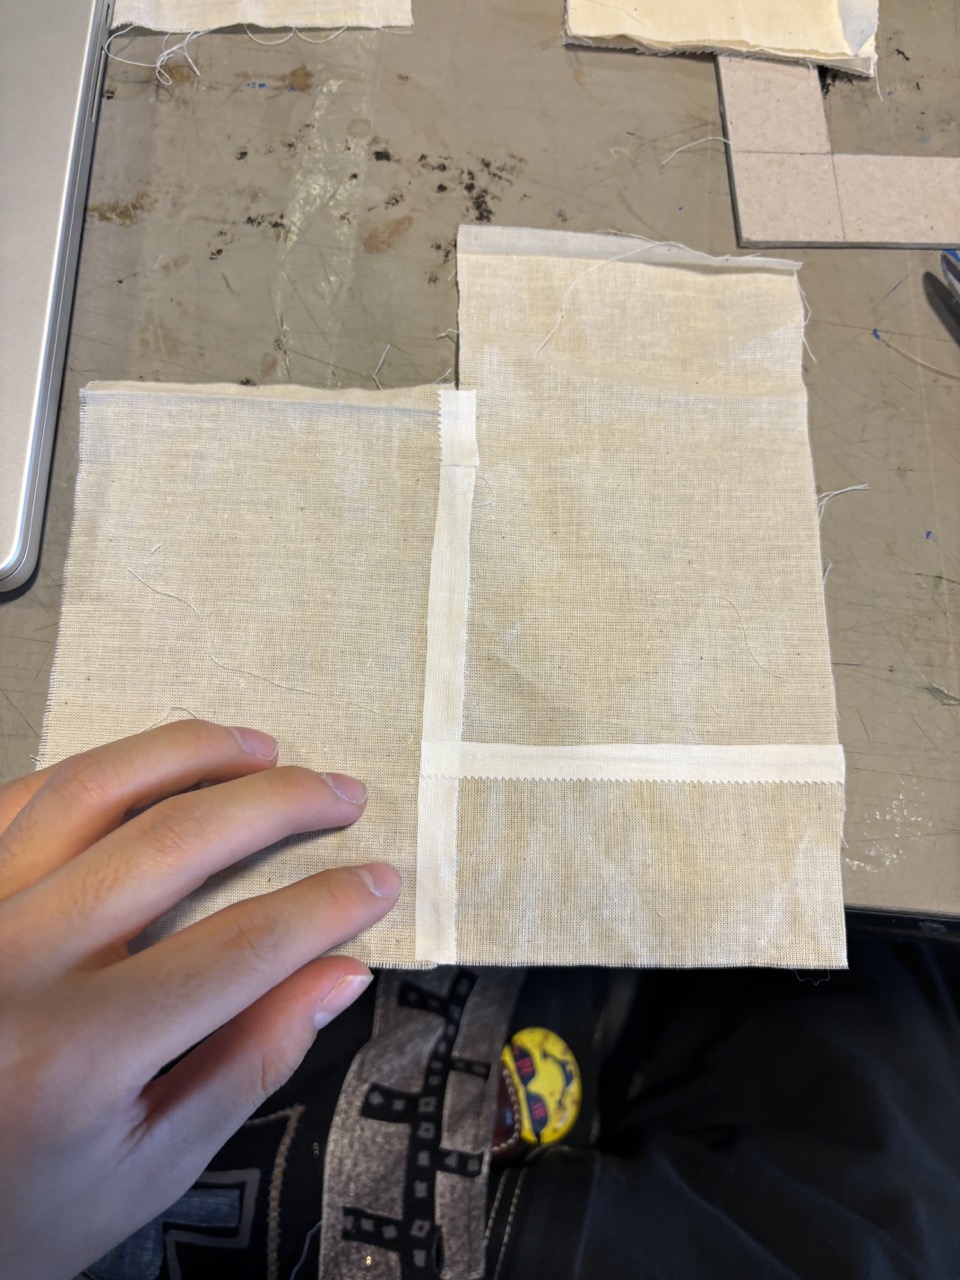
Testing fabric tapes 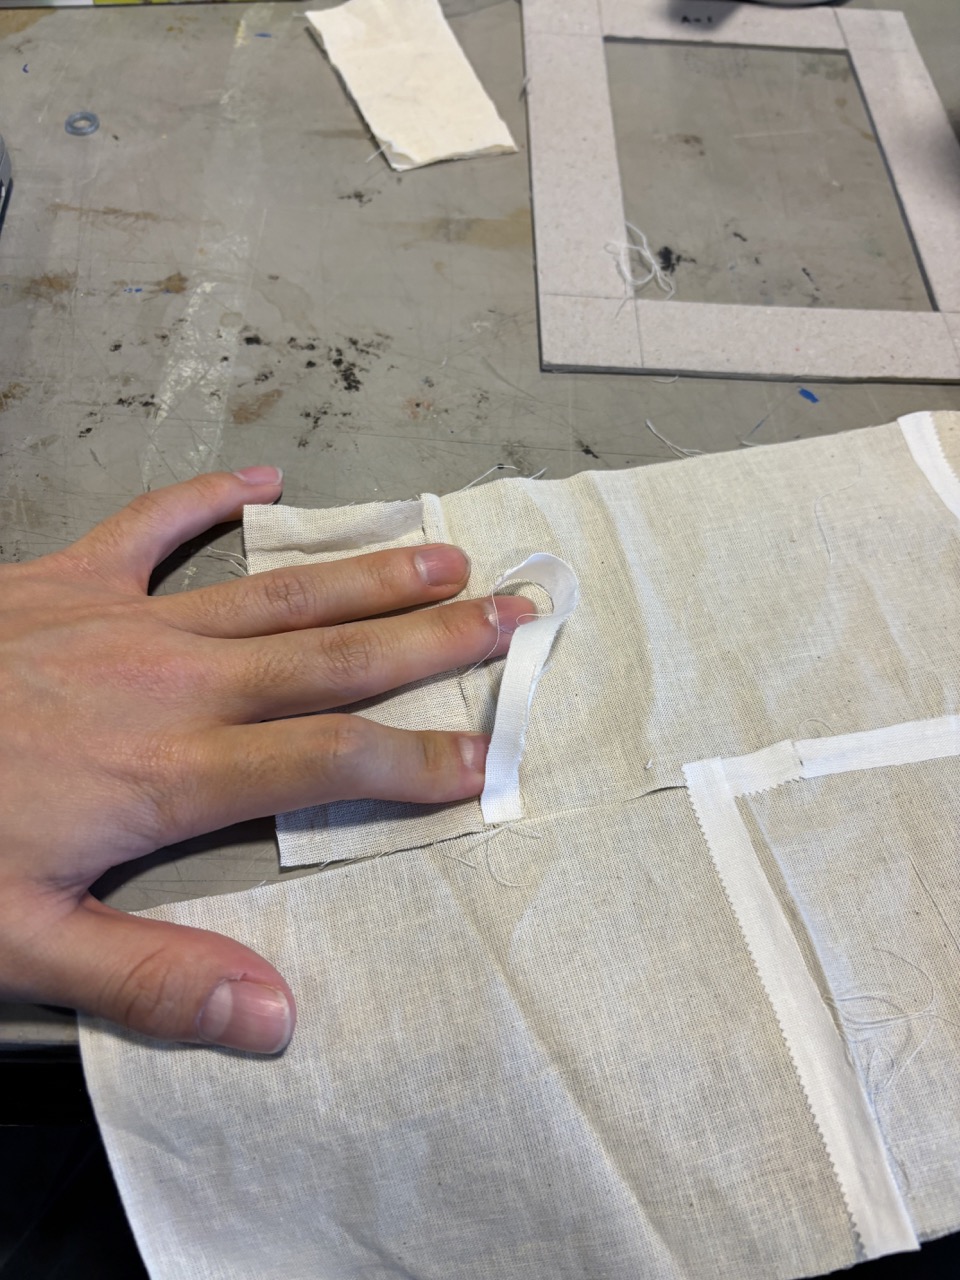
Sticking fabric tapes onto patterns 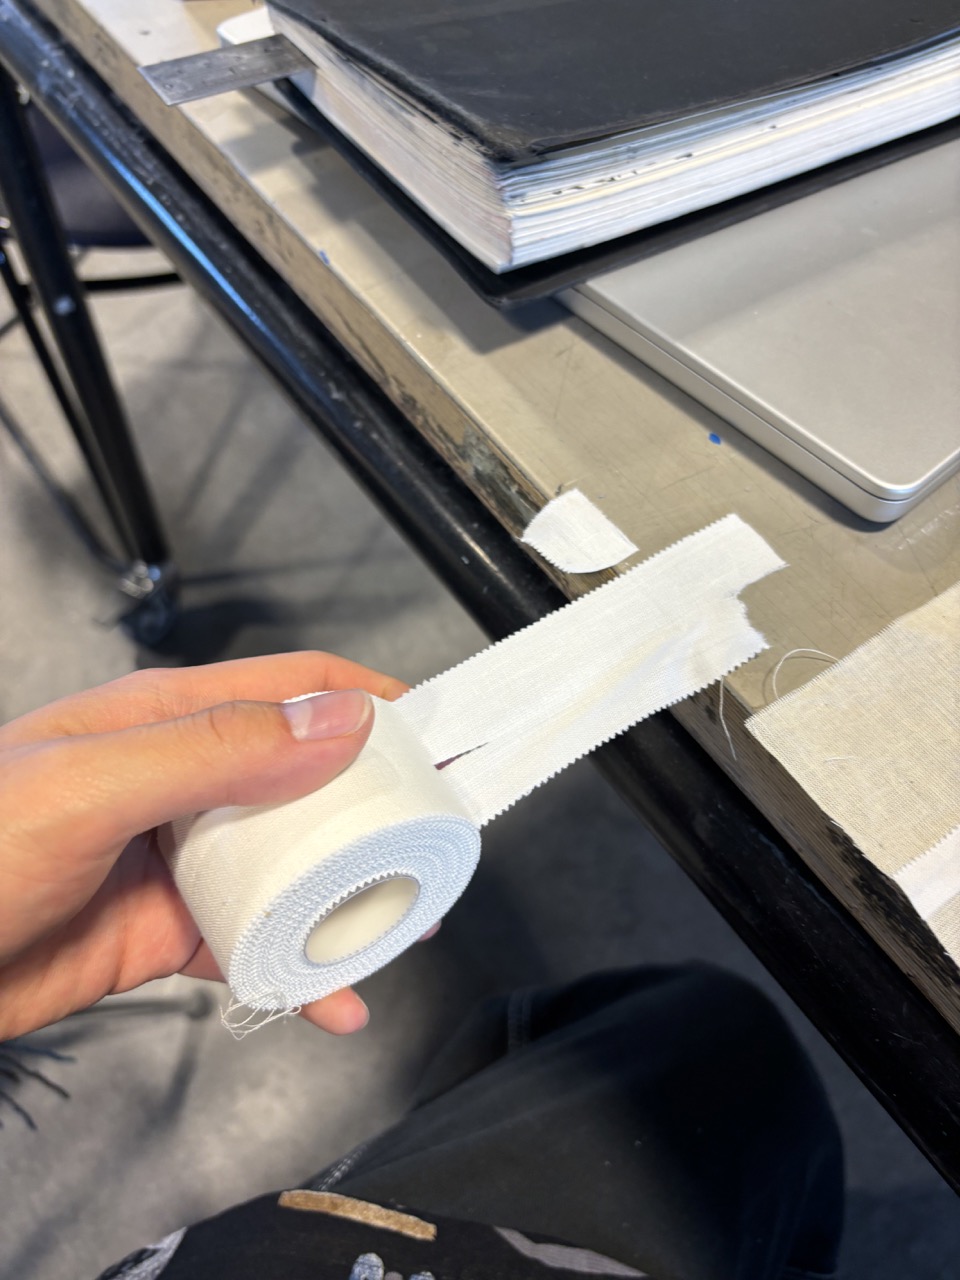
Cutting the tapes 
Overview of the finalised patterns
-
Mid-Terms Set Up Overview
Reflection
ⓐ Although my material exploration did not meet the learning requirements of the class, I did learn a lot about production techniques and gained many insights into industrial design.
ⓑ One of the biggest takeaways is the commitment to an idea, no matter how silly it might look at one point. Much like my journey with new digital tools, such as P5.js, the first few steps will never be pretty, and one can only stay positive and embrace that as a part of the process.
ⓒ What I could have done was to give this project more love and patience, have more confidence to seek guidance, and dive deeper into a chosen material or production technique.
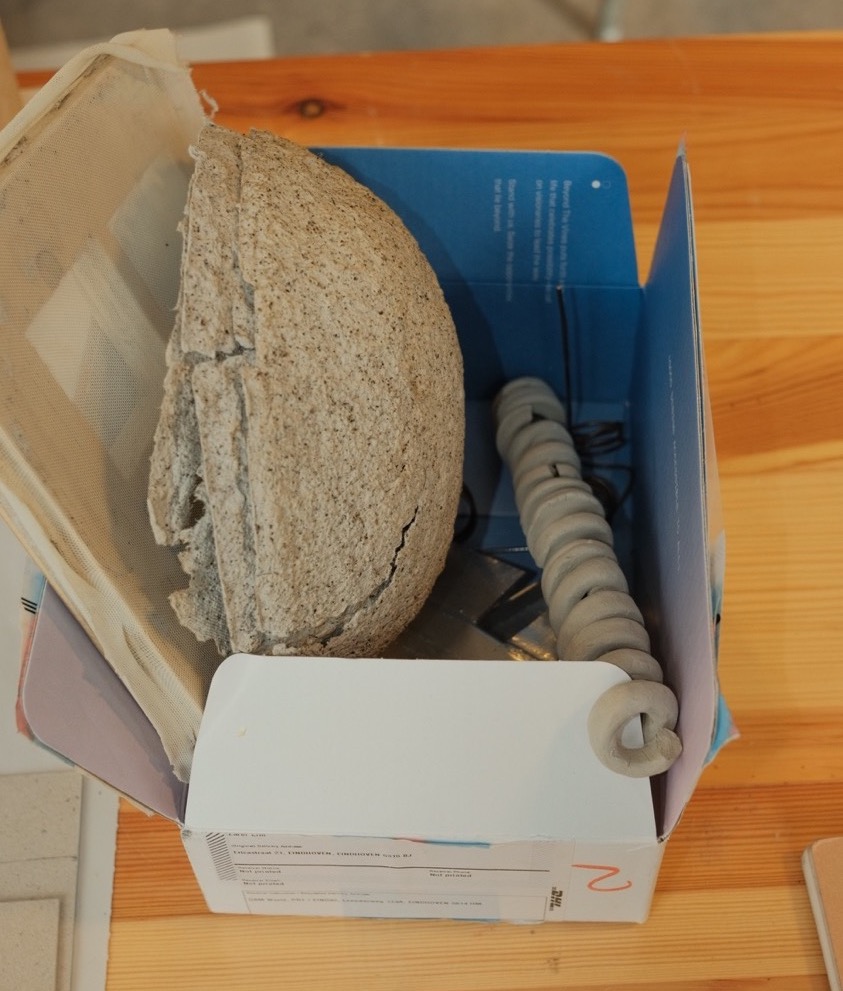
Box of discarded curiosities 
Process overview of presented prototype
Achievement
The biggest takeaway from this class was observing and being involved in my classmates' process.
One of them is Mila, a friend from my group, who was first intrigued by squeezing polyurethane foam through a mesh, resulting in a visually spiky and soft-textured medium. Using that medium as an expression, she then experimented with colors, resulting in an entire production setup for her product that functions as a sleeve for light bulbs.
Being part of her group for feedback, it was especially satisfying to witness her success after many trials and tribulations. I can remember one of her struggles was figuring out how she could create a dome shape with her coral, which I suggested using a strainer - something I used in exploring with pulp. And that eventually became part of her production technique and process.
While it's frustrating that I could not take this opportunity to the fullest, I was glad that I was able to learn the learning objectives through observing and being involved in my peers' process!
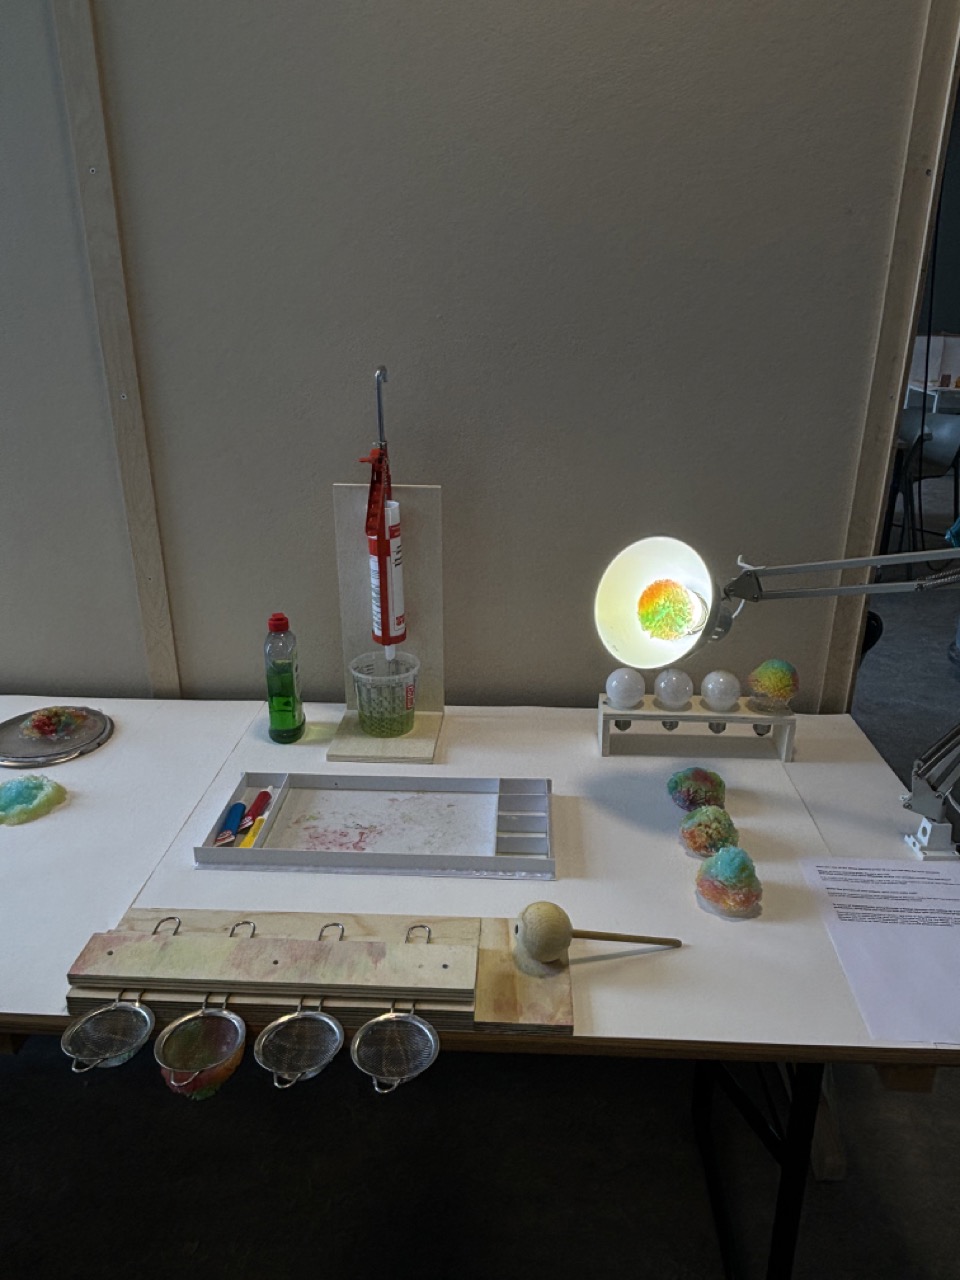
Overview of Mila's Set-Up 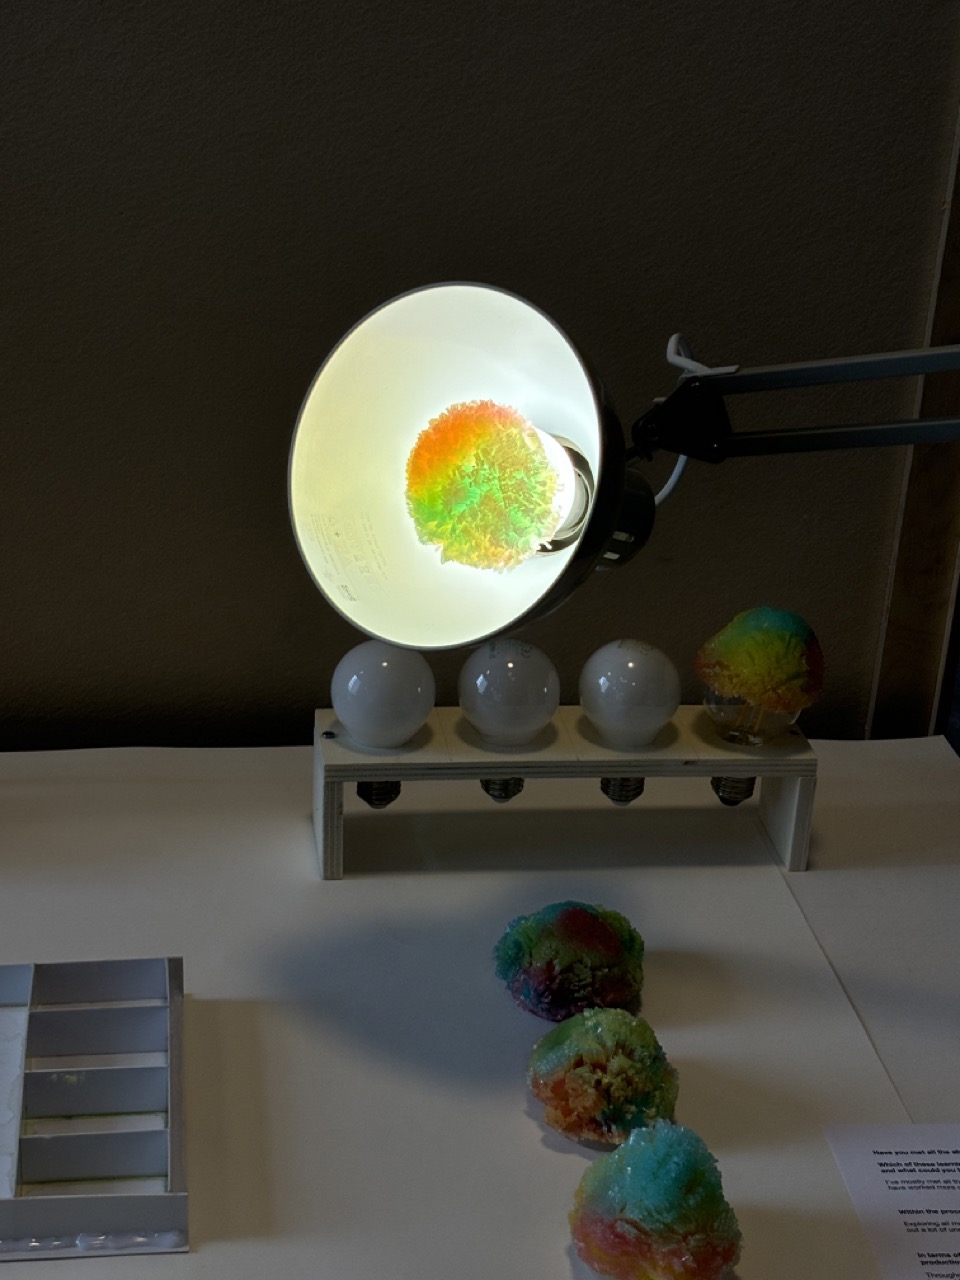
Mila's Presented Prototype
Next Step
I had an open conversation with my tutors, discussing the frustrations of not meeting the learning objectives through a more personalised experience. They acknowledged the challenges, considering my different design background and education.
The conversation concluded with a commitment to foster a more transparent relationship with them and a mutual agreement to seek additional guidance moving forward.